Bikepacking Peru – Yungay to Oyon via Cordillera Huayhuash
This section contains 3 major highlight regions of Peru. If you love glaciated mountains like we do, this section could potentially be the highlight of your journey in Peru. The three sections we will discuss are the following:
1) Potential cycle routes in the Huascaran National Park.
2) Cycling past the Pastoruri Glacier
3) Cycling options in the Huayhuash
Huascaran National Park
Huascaran National Park provides you with four reasonable options to cycle through. I use the word “reasonable” because there are certainly other routes by which you can push your bicycle over the mountains (such as Paul Griffiths and Sam Hochheimer’s triple bypass (see the bottom of their post for this difficult pass)). As great as these adventuresome routes always sound… they often leave you wishing you had left your bike behind because you’re carrying it. So, here are the 4 cycle-able routes across:
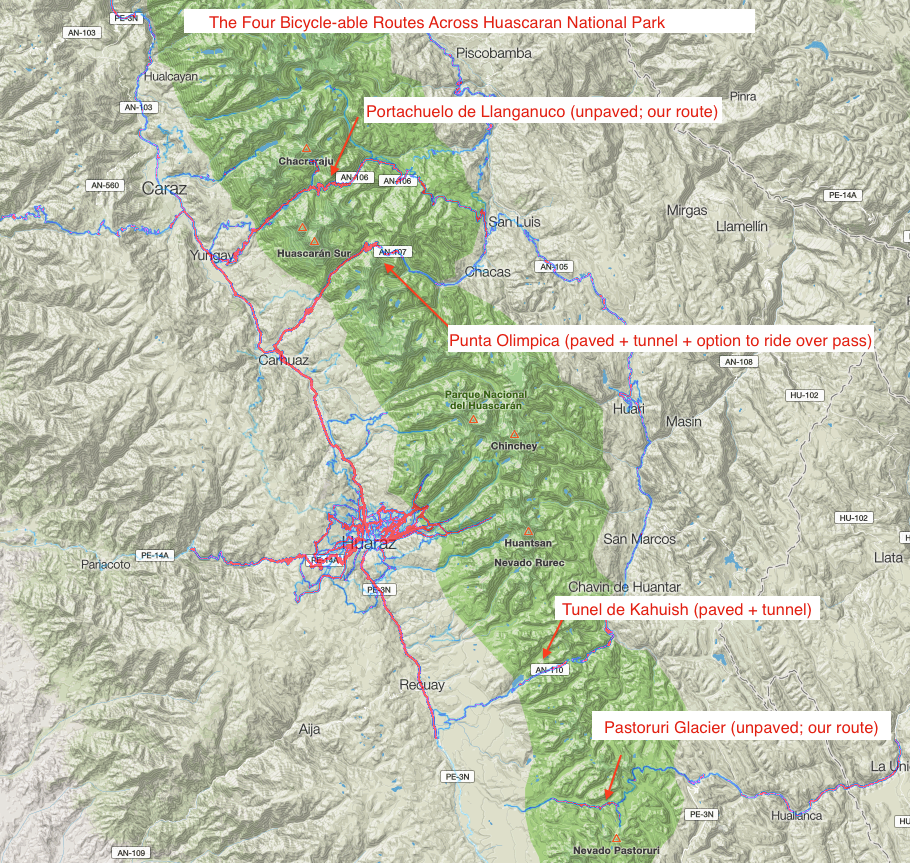
The four cycle-able ways to cross Huascaran National Park: Portachuelo de Llanganuco, Punta Olimpica, Tunel de Kahuis, and Pastoruri Glacier.
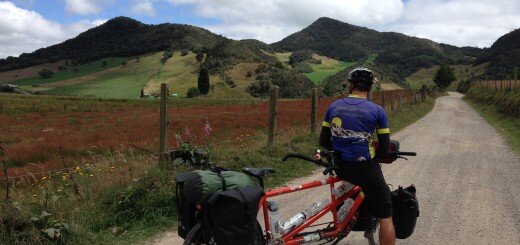
In our previous post, we discussed the route across Portachuelo Llanganuco, the Northernmost crossing in this map. We did not ride over Punta Olimpica (we (perhaps erroneously) thought it wouldn’t be as scenic and remote given that it was paved) – but Pikes on Bikes should be able to give you an idea of what Punta Olimpica is like. Note that the route is paved, and there is a tunnel near the top. Cyclists seem to sometimes skip the tunnel and ride over the snowy (unpaved) pass instead.
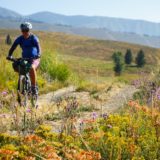
We decided to head out to see the Pastoruri Glacier. This route to the glacier from the West side begins here: 09.85243° S 77.40665° W at a turnoff from the (paved) highway. Coming from the East, you will leave the pavement here: 09.85656° S 77.08208° W The route between these two points is unpaved, but in good condition. There is A LOT to see along this route! From West to East:
1) Check out the visitor center ( 09.88903° S 77.30368° W ) – here you will have to pay your entry fee to the park – they let us camp by the building.
2) Puya Raimond ( 09.87931° S 77.27022° W ).
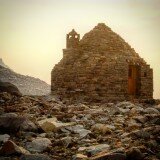
3) Cliff drawings ( 09.88493° S 77.23470° W ).
4) Pastoruri Glacier ( From here, 09.88607° S 77.18861° W head due South).
5) Dinosaur Footprints ( approx. here: 09.85654° S 77.08201° W ) ** We did not see these, so correct my waypoint if you have a better one.
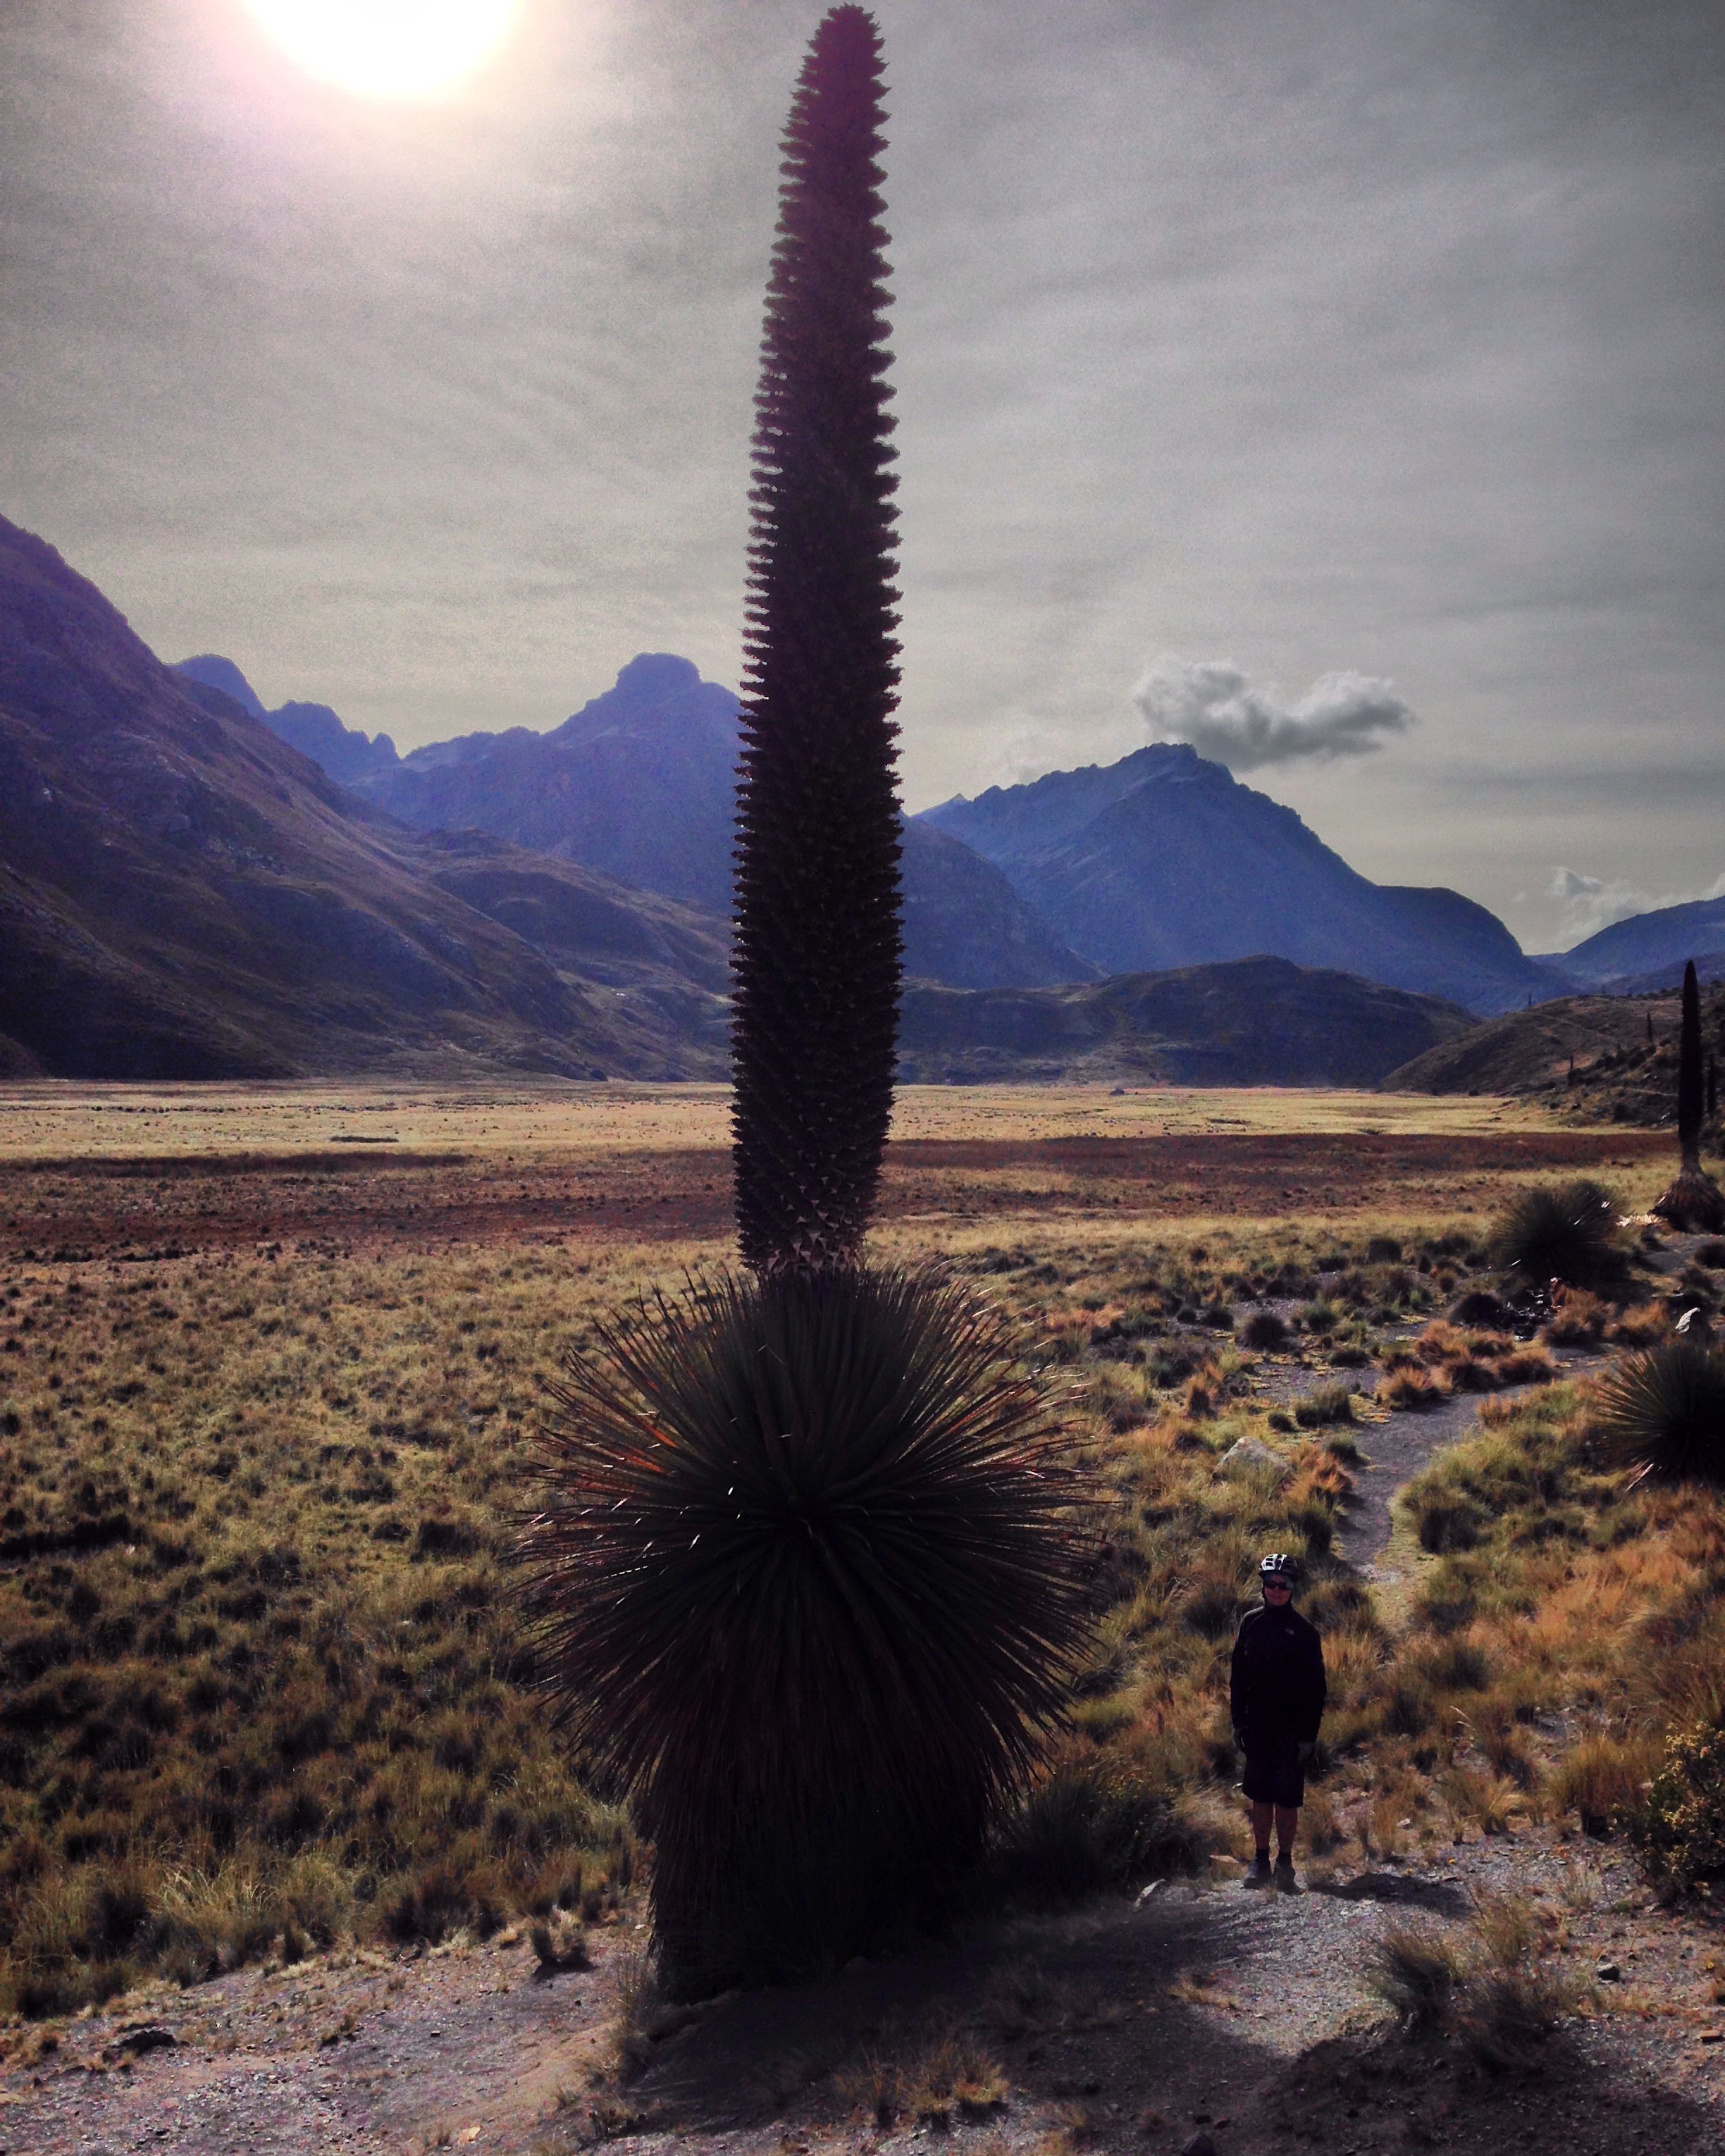
Puya tree – makes millions of seeds, but in spite of this they are relatively rare. It takes a long time to grow to this height.
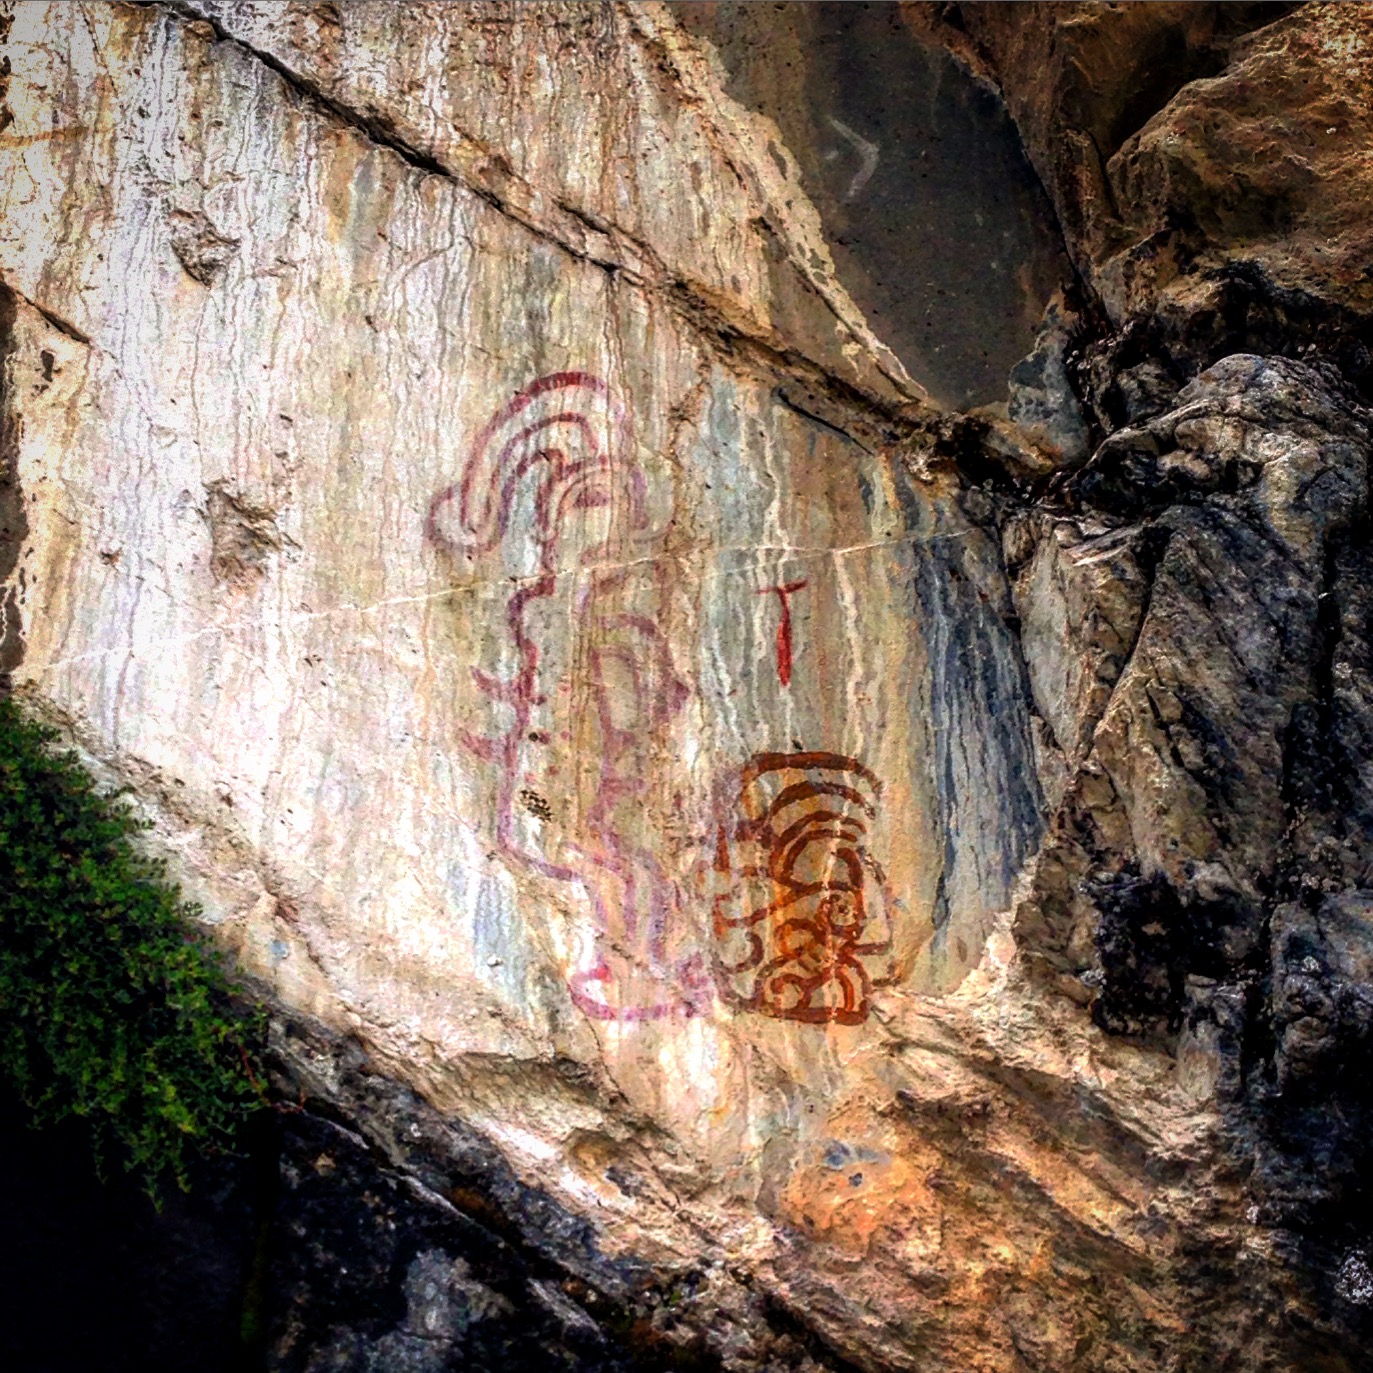
Along the route to the Pastoruri glacier, you can stop to see some well preserved cliff drawings.
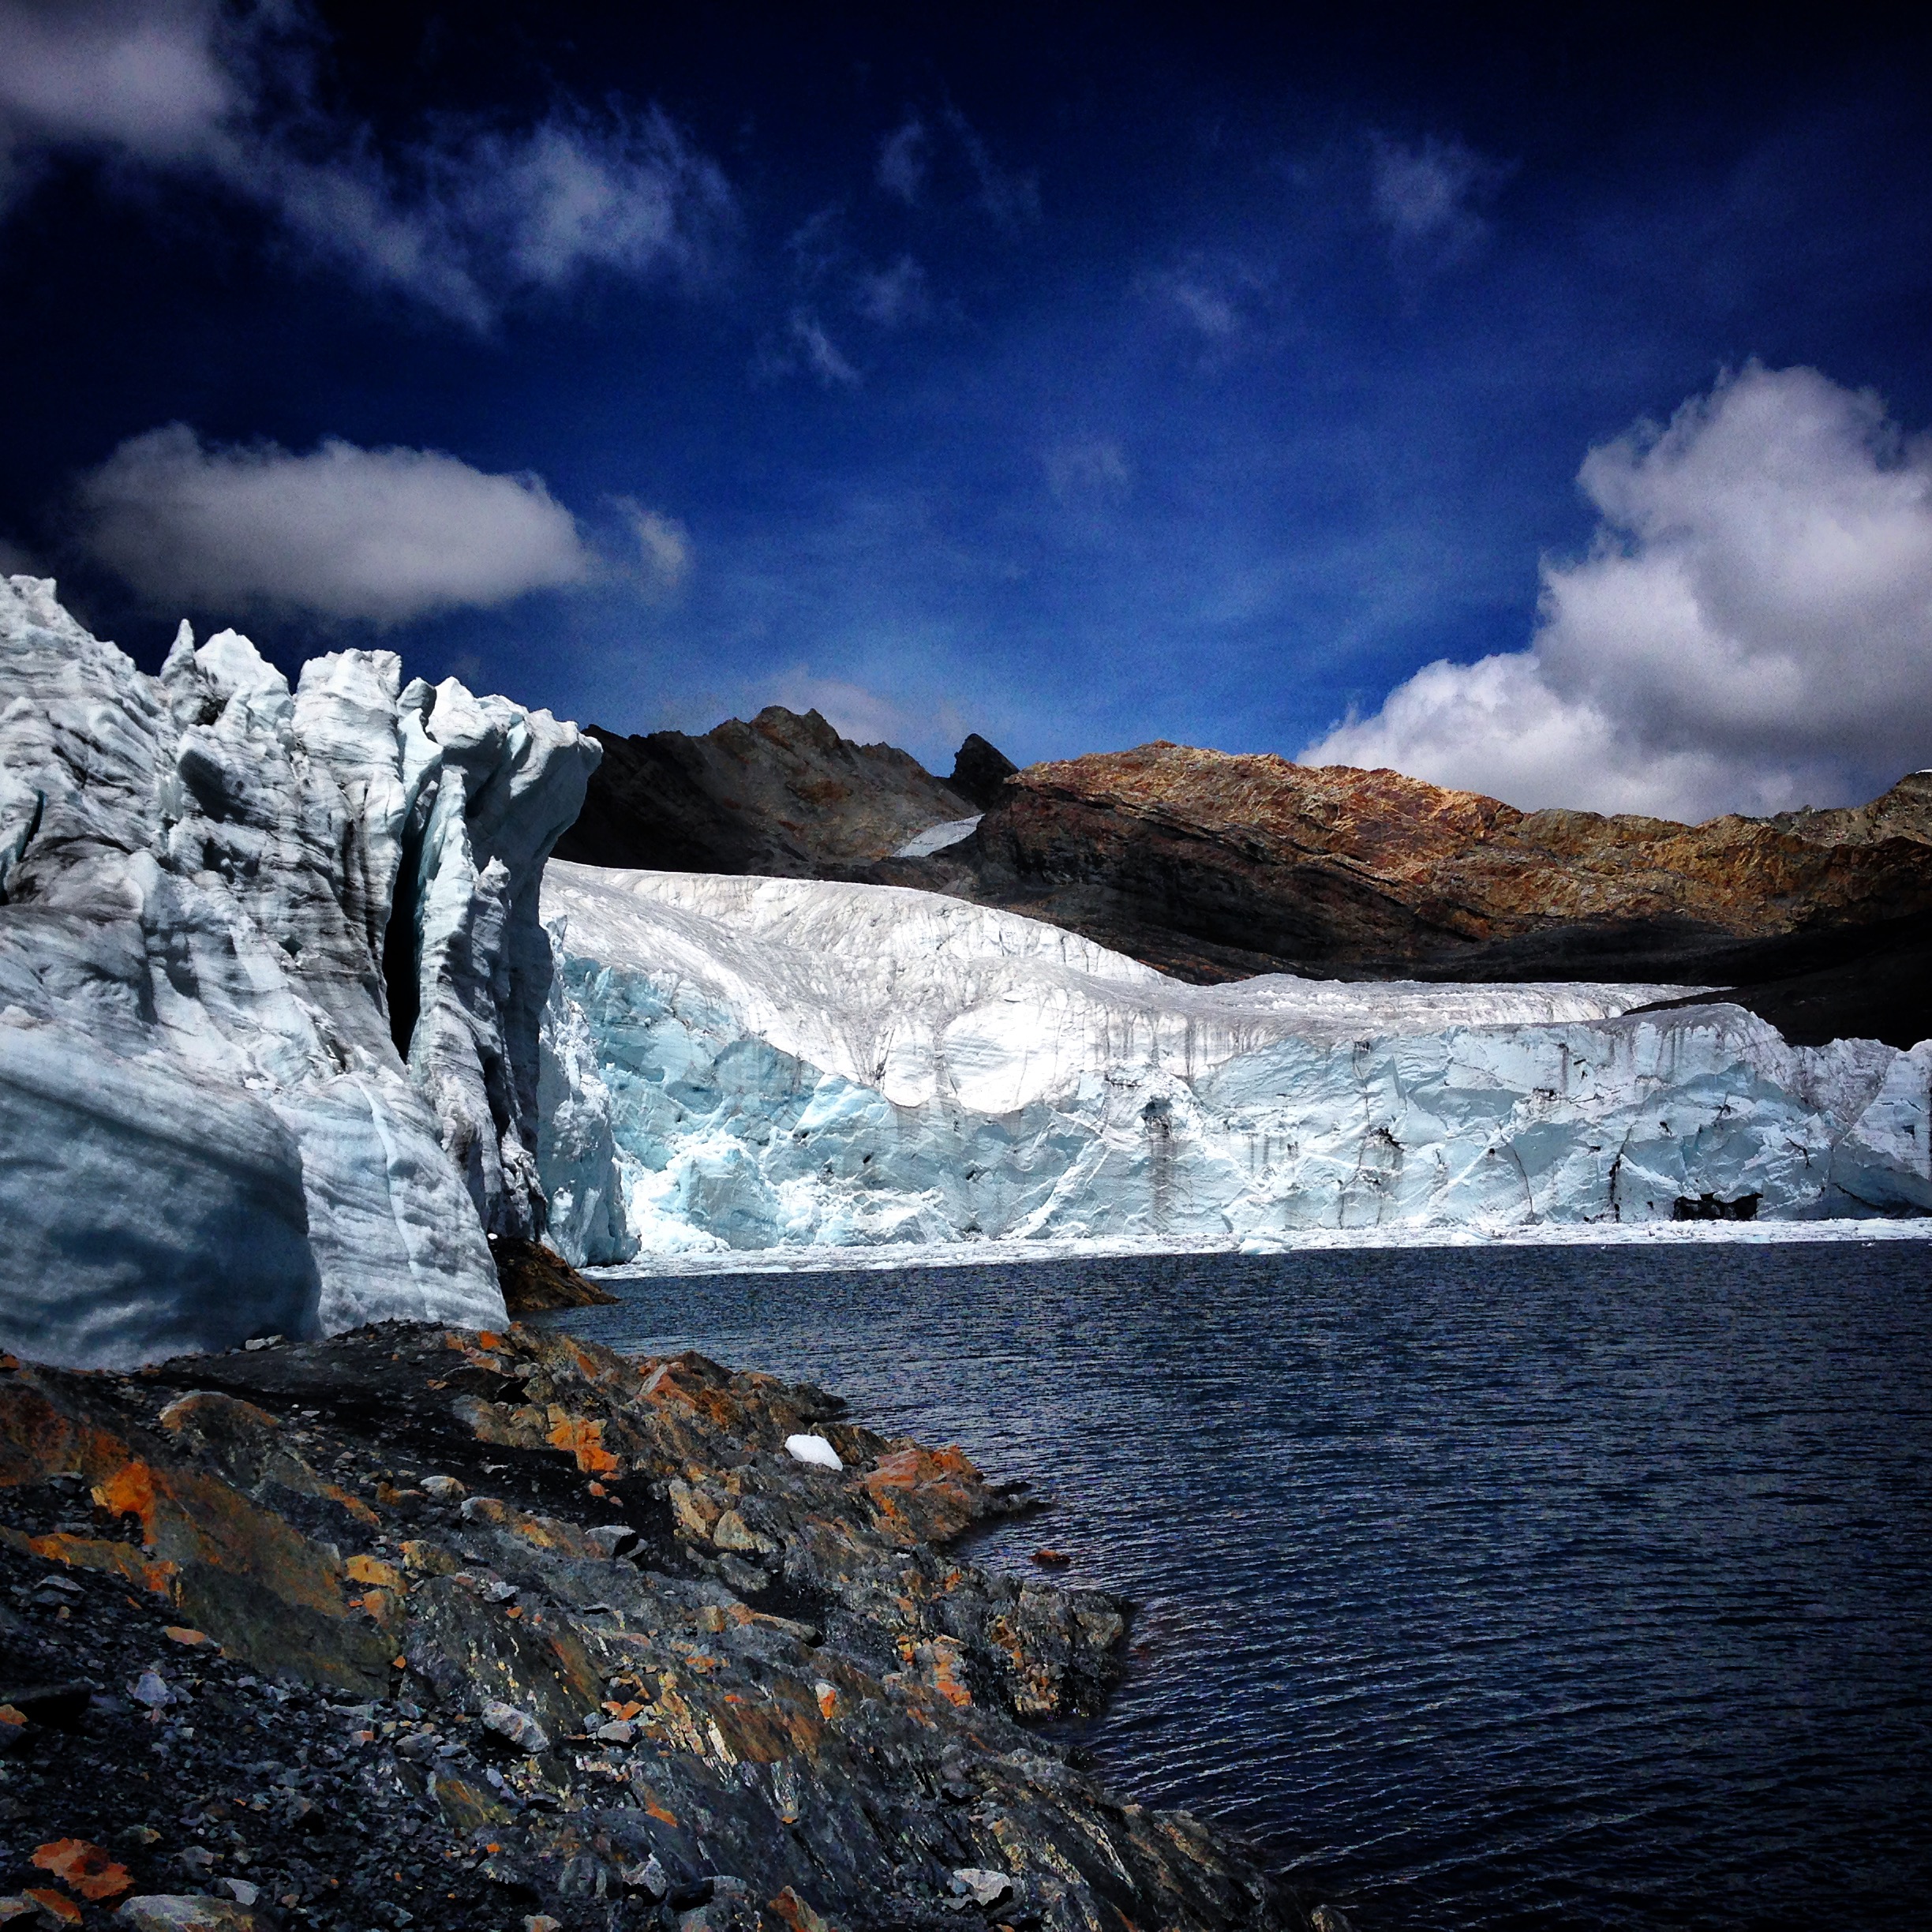
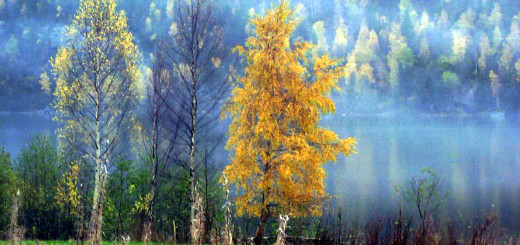
The Pastoruri glacier in 2016. No doubt it will be smaller when you visit.
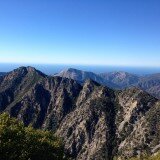
Pastoruri is one of the easiest glaciers to reach (you can go most of the way on a road). In the surrounding area, there are a number of glaciated peaks.
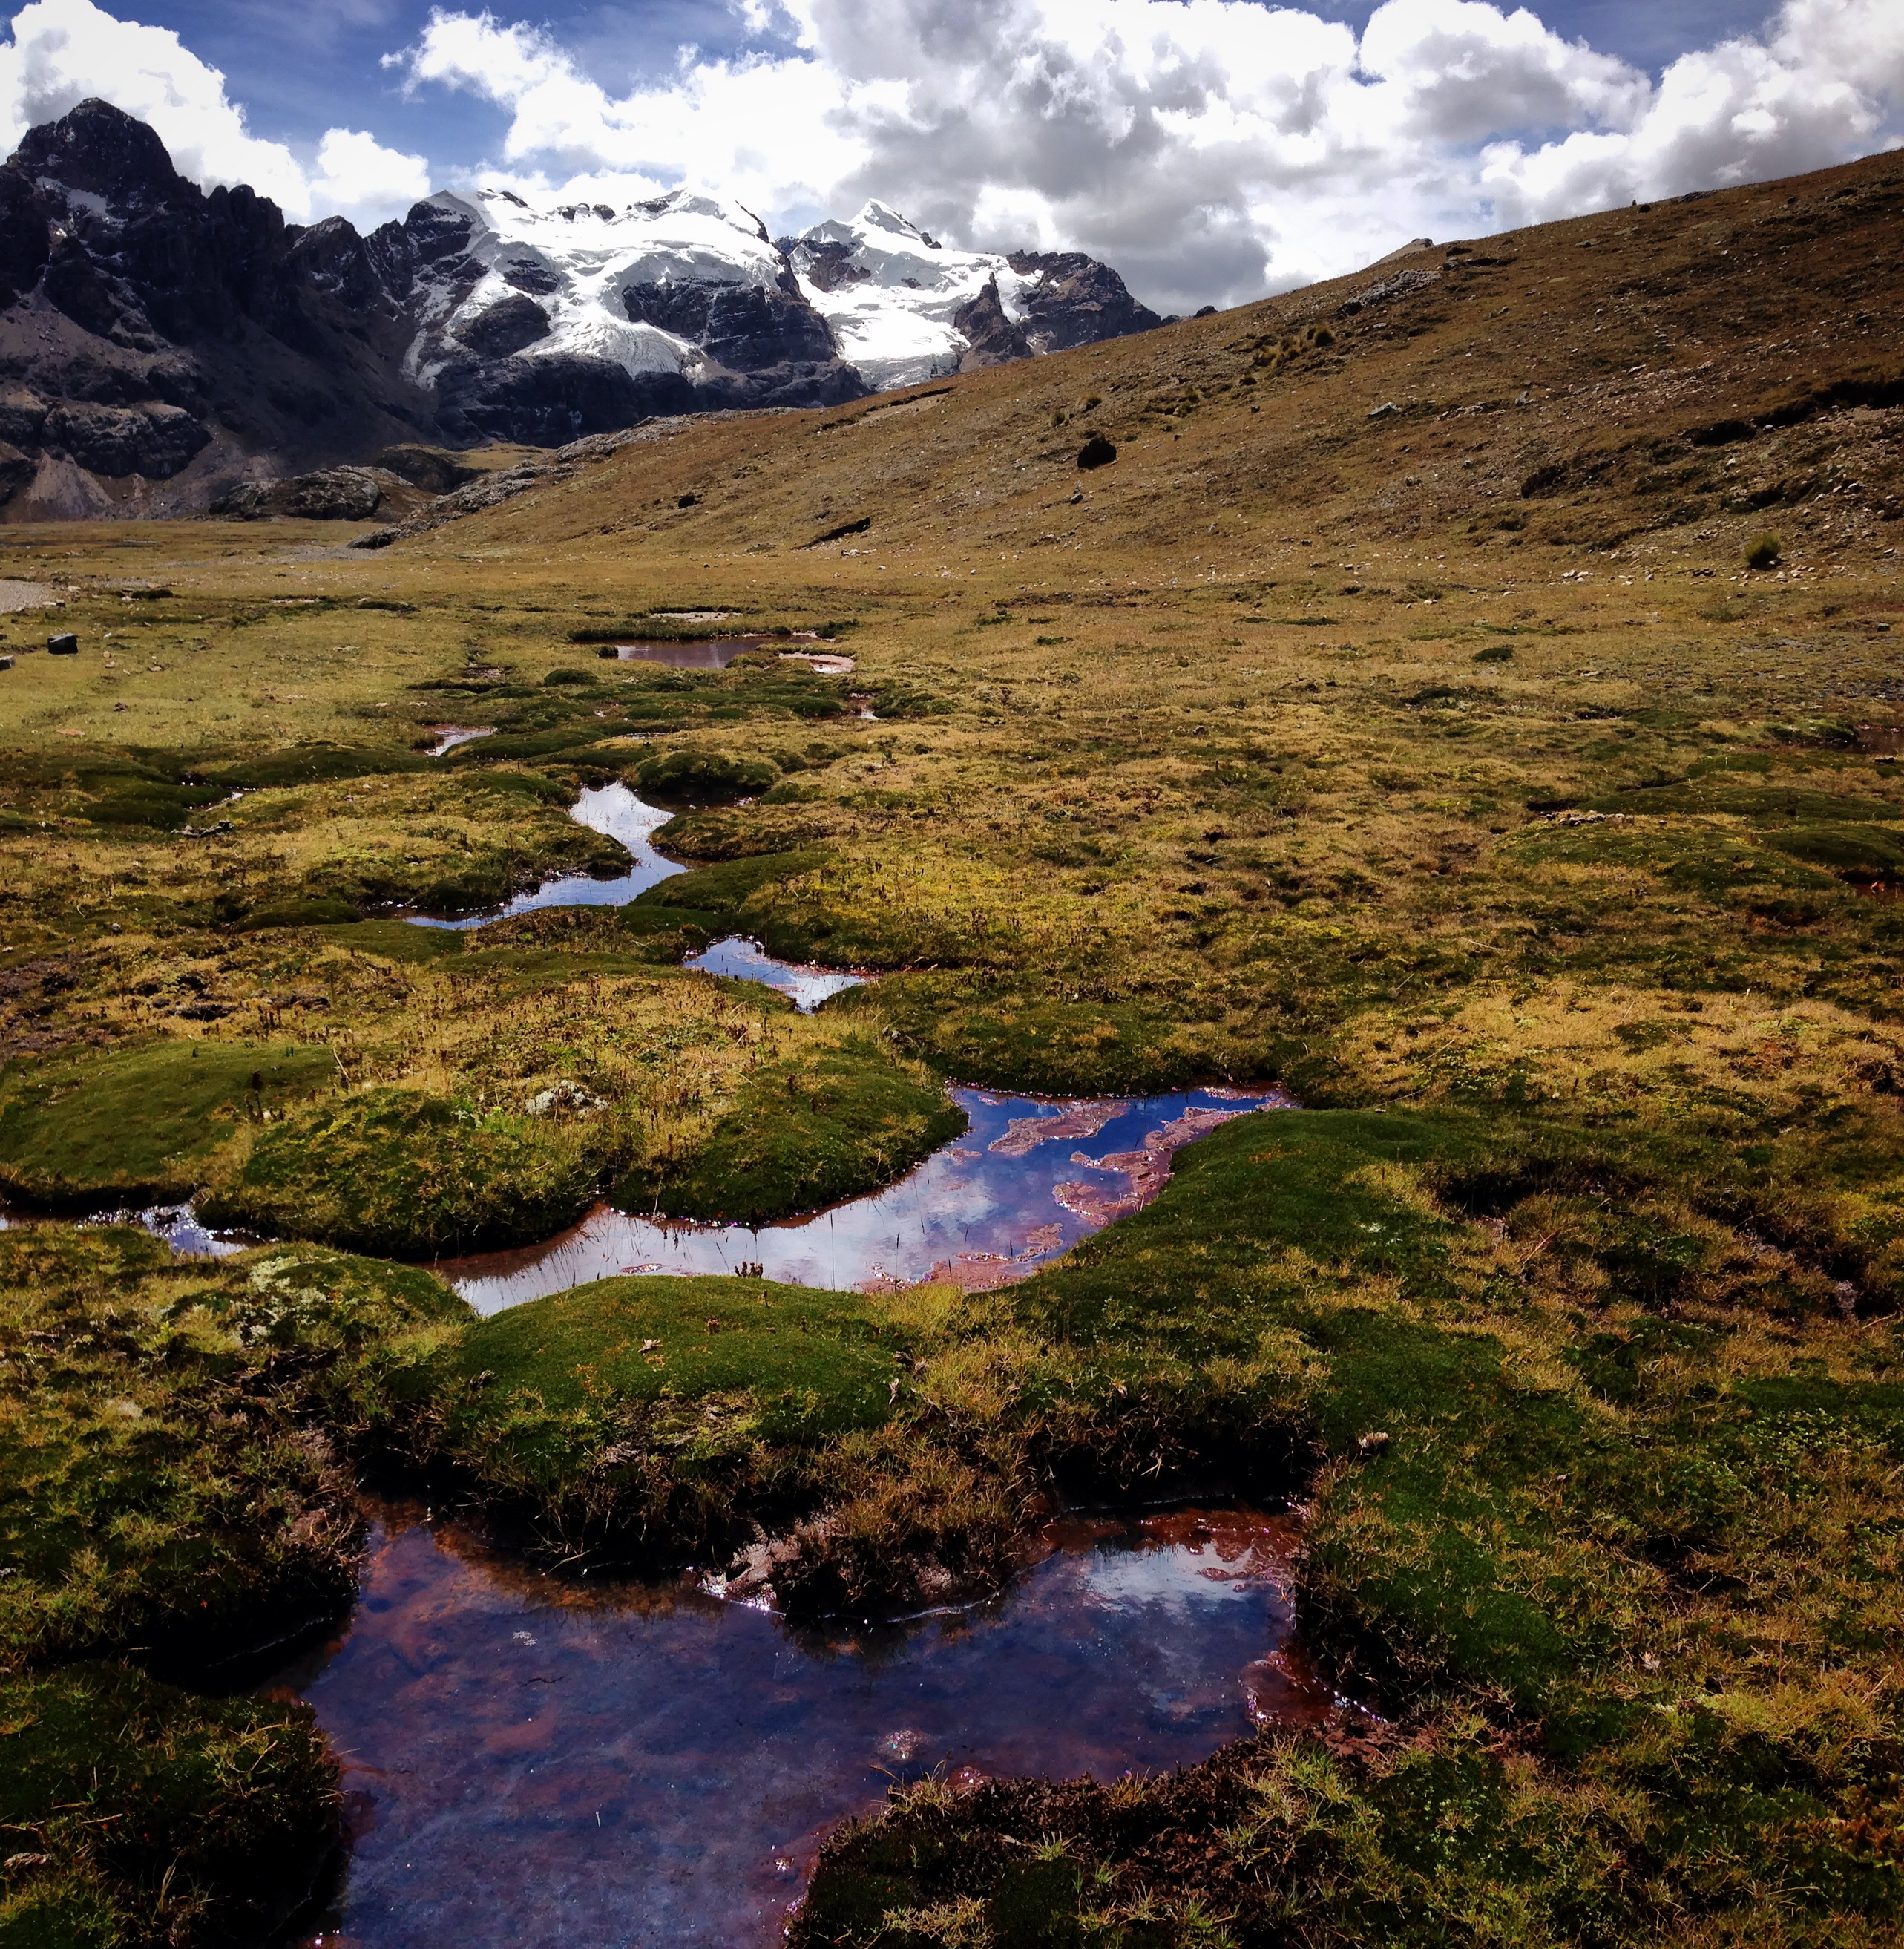
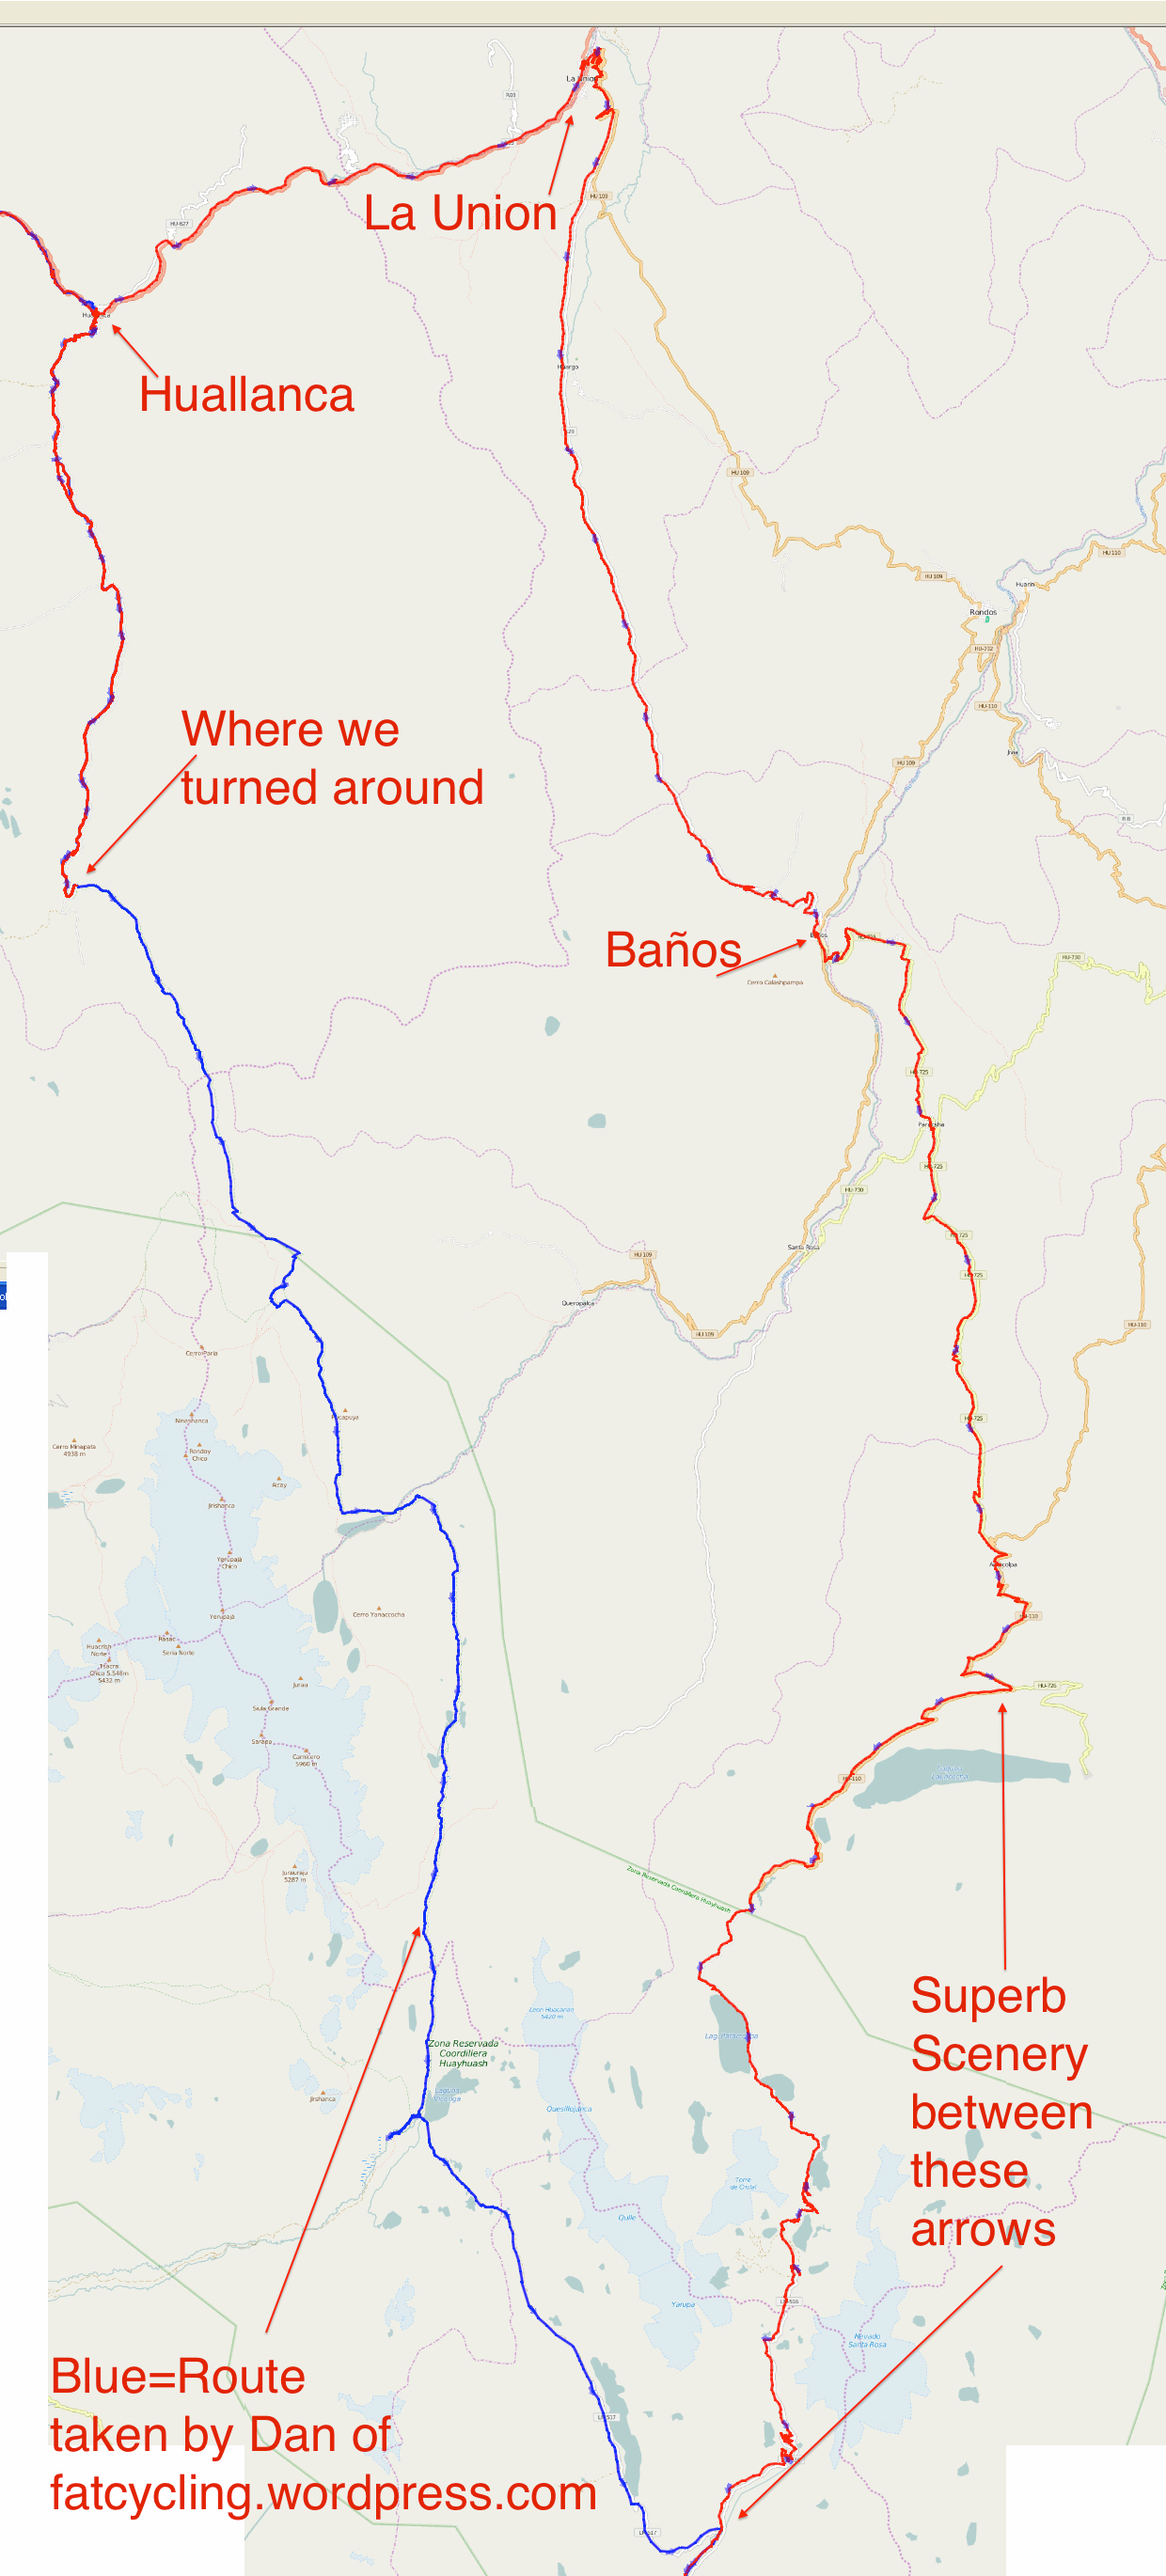
The route through Pastoruri is a must-do in my opinion. Not only is it a gorgeous area, but you will also be moved by the way they have designed the route to illustrate how the ice has receded. At one point, they had closed the glacier, but then they re-opened it as the “global warming” route. Once you cross the Cordillera, you’re on the East side of the range, and you now have a couple options to head South. If you examine the map below, you can see the green route, the blue route, and our route (red).
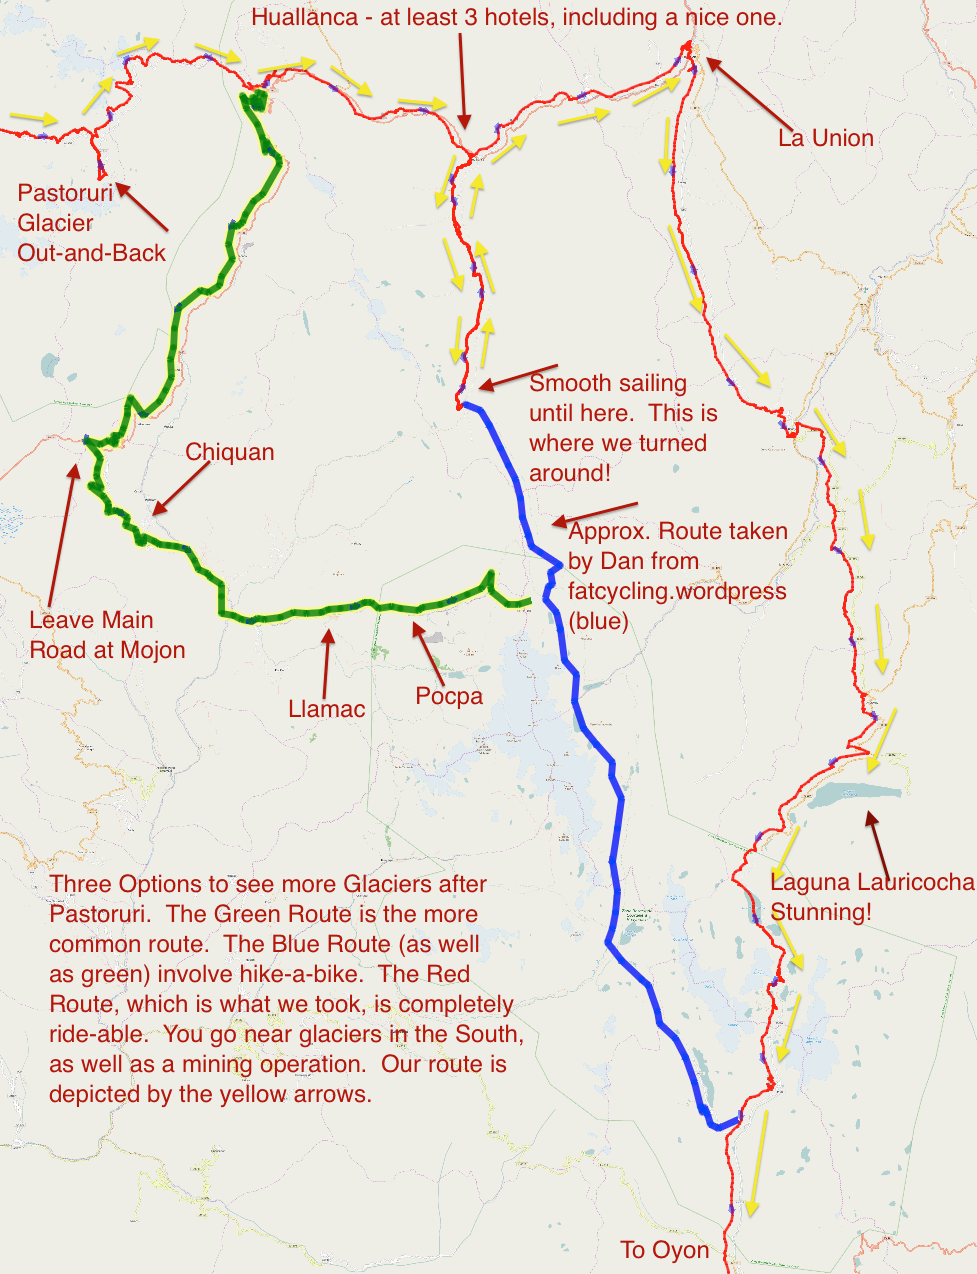
This map gives you an idea of the various route selections available in the area. Only our route (red) is truly rideable.
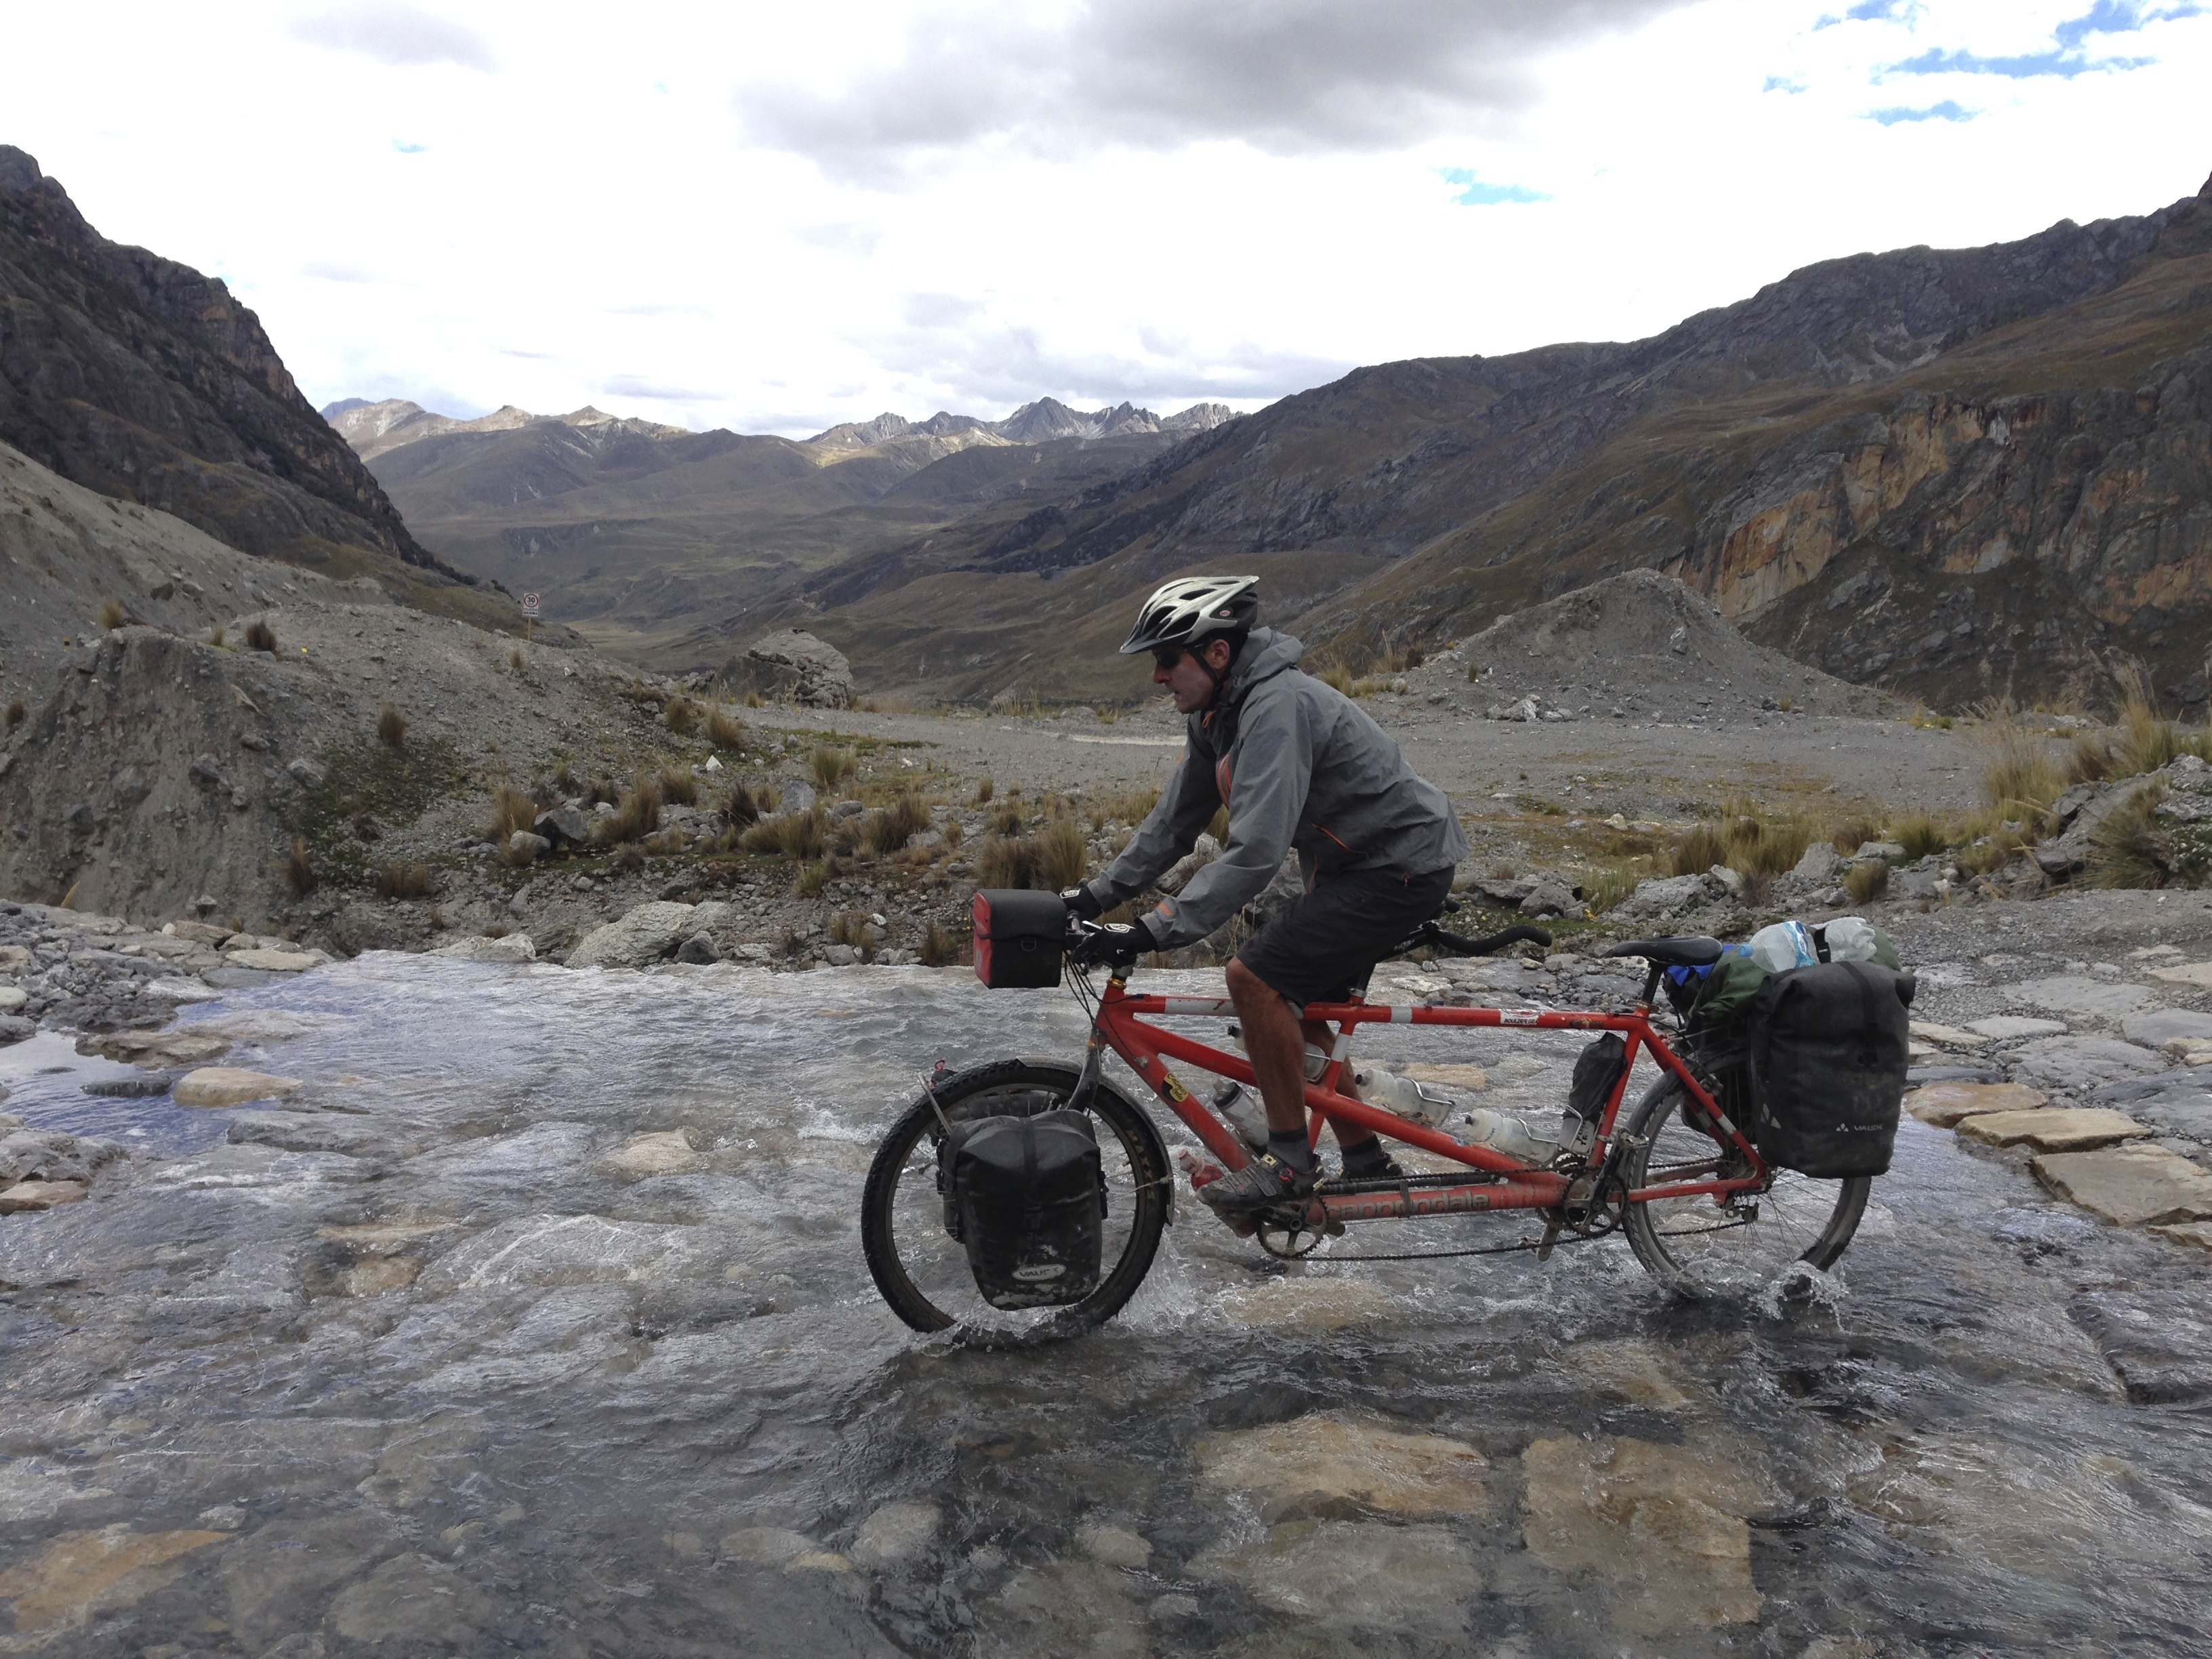
It was a difficult decision, but we decided to not take the green route. The reasoning was that we had read Dan’s blog of the blue route (link here). We were sold by his post and writing. Unfortunately, we were riding a tandem with panniers – not a fatbike. As you can see from the map, we rode quite a ways up the dirt road before we turned off on the “donkey trail.” We made a few hundred meters up the rocky, muddy donkey trail during the next hour, and decided to call it quits. We made obscenely slow progress – and so will you (at least for a few miles). We turned back and spent some time talking with guys with horses who were half-considering strapping our tandem to one of the horses and carrying us up the trail. I would have gone for it (hey, it’s an adventure!), but there were two other big factors. For one, my whole body was suffering again with a return of the illness that had struck me down last week. Secondly, it was getting ready to rain. Click on the movie link below to get an idea of what it was like.
You’re probably wondering if you should try it. Either Dan’s report makes it seem easier than it is, or my illness accentuated my perception of the challenge ahead. As a result, we returned to Huallanca and surprised the owner of the hotel with another visit. I spent the next couple days with a fever of 104F. I was visited in the hotel room by the pharmacist who wanted to give me an injection in my butt (or else I would die, she said). I managed to walk in the rain one night while wearing white sweatpants borrowed from the hotel owner – to go visit the doctor. When we arrived, the sign outside the door said, “Miracle worker.” My memory of this time is a little foggy, but I made it through this cloudy and surreal experience with the help of a double-dose of cipro. The net result for you is a new route, previously un-described in the literature. We debated taking the green route, but instead decided to explore a new route where the only information we had was satellite imagery.
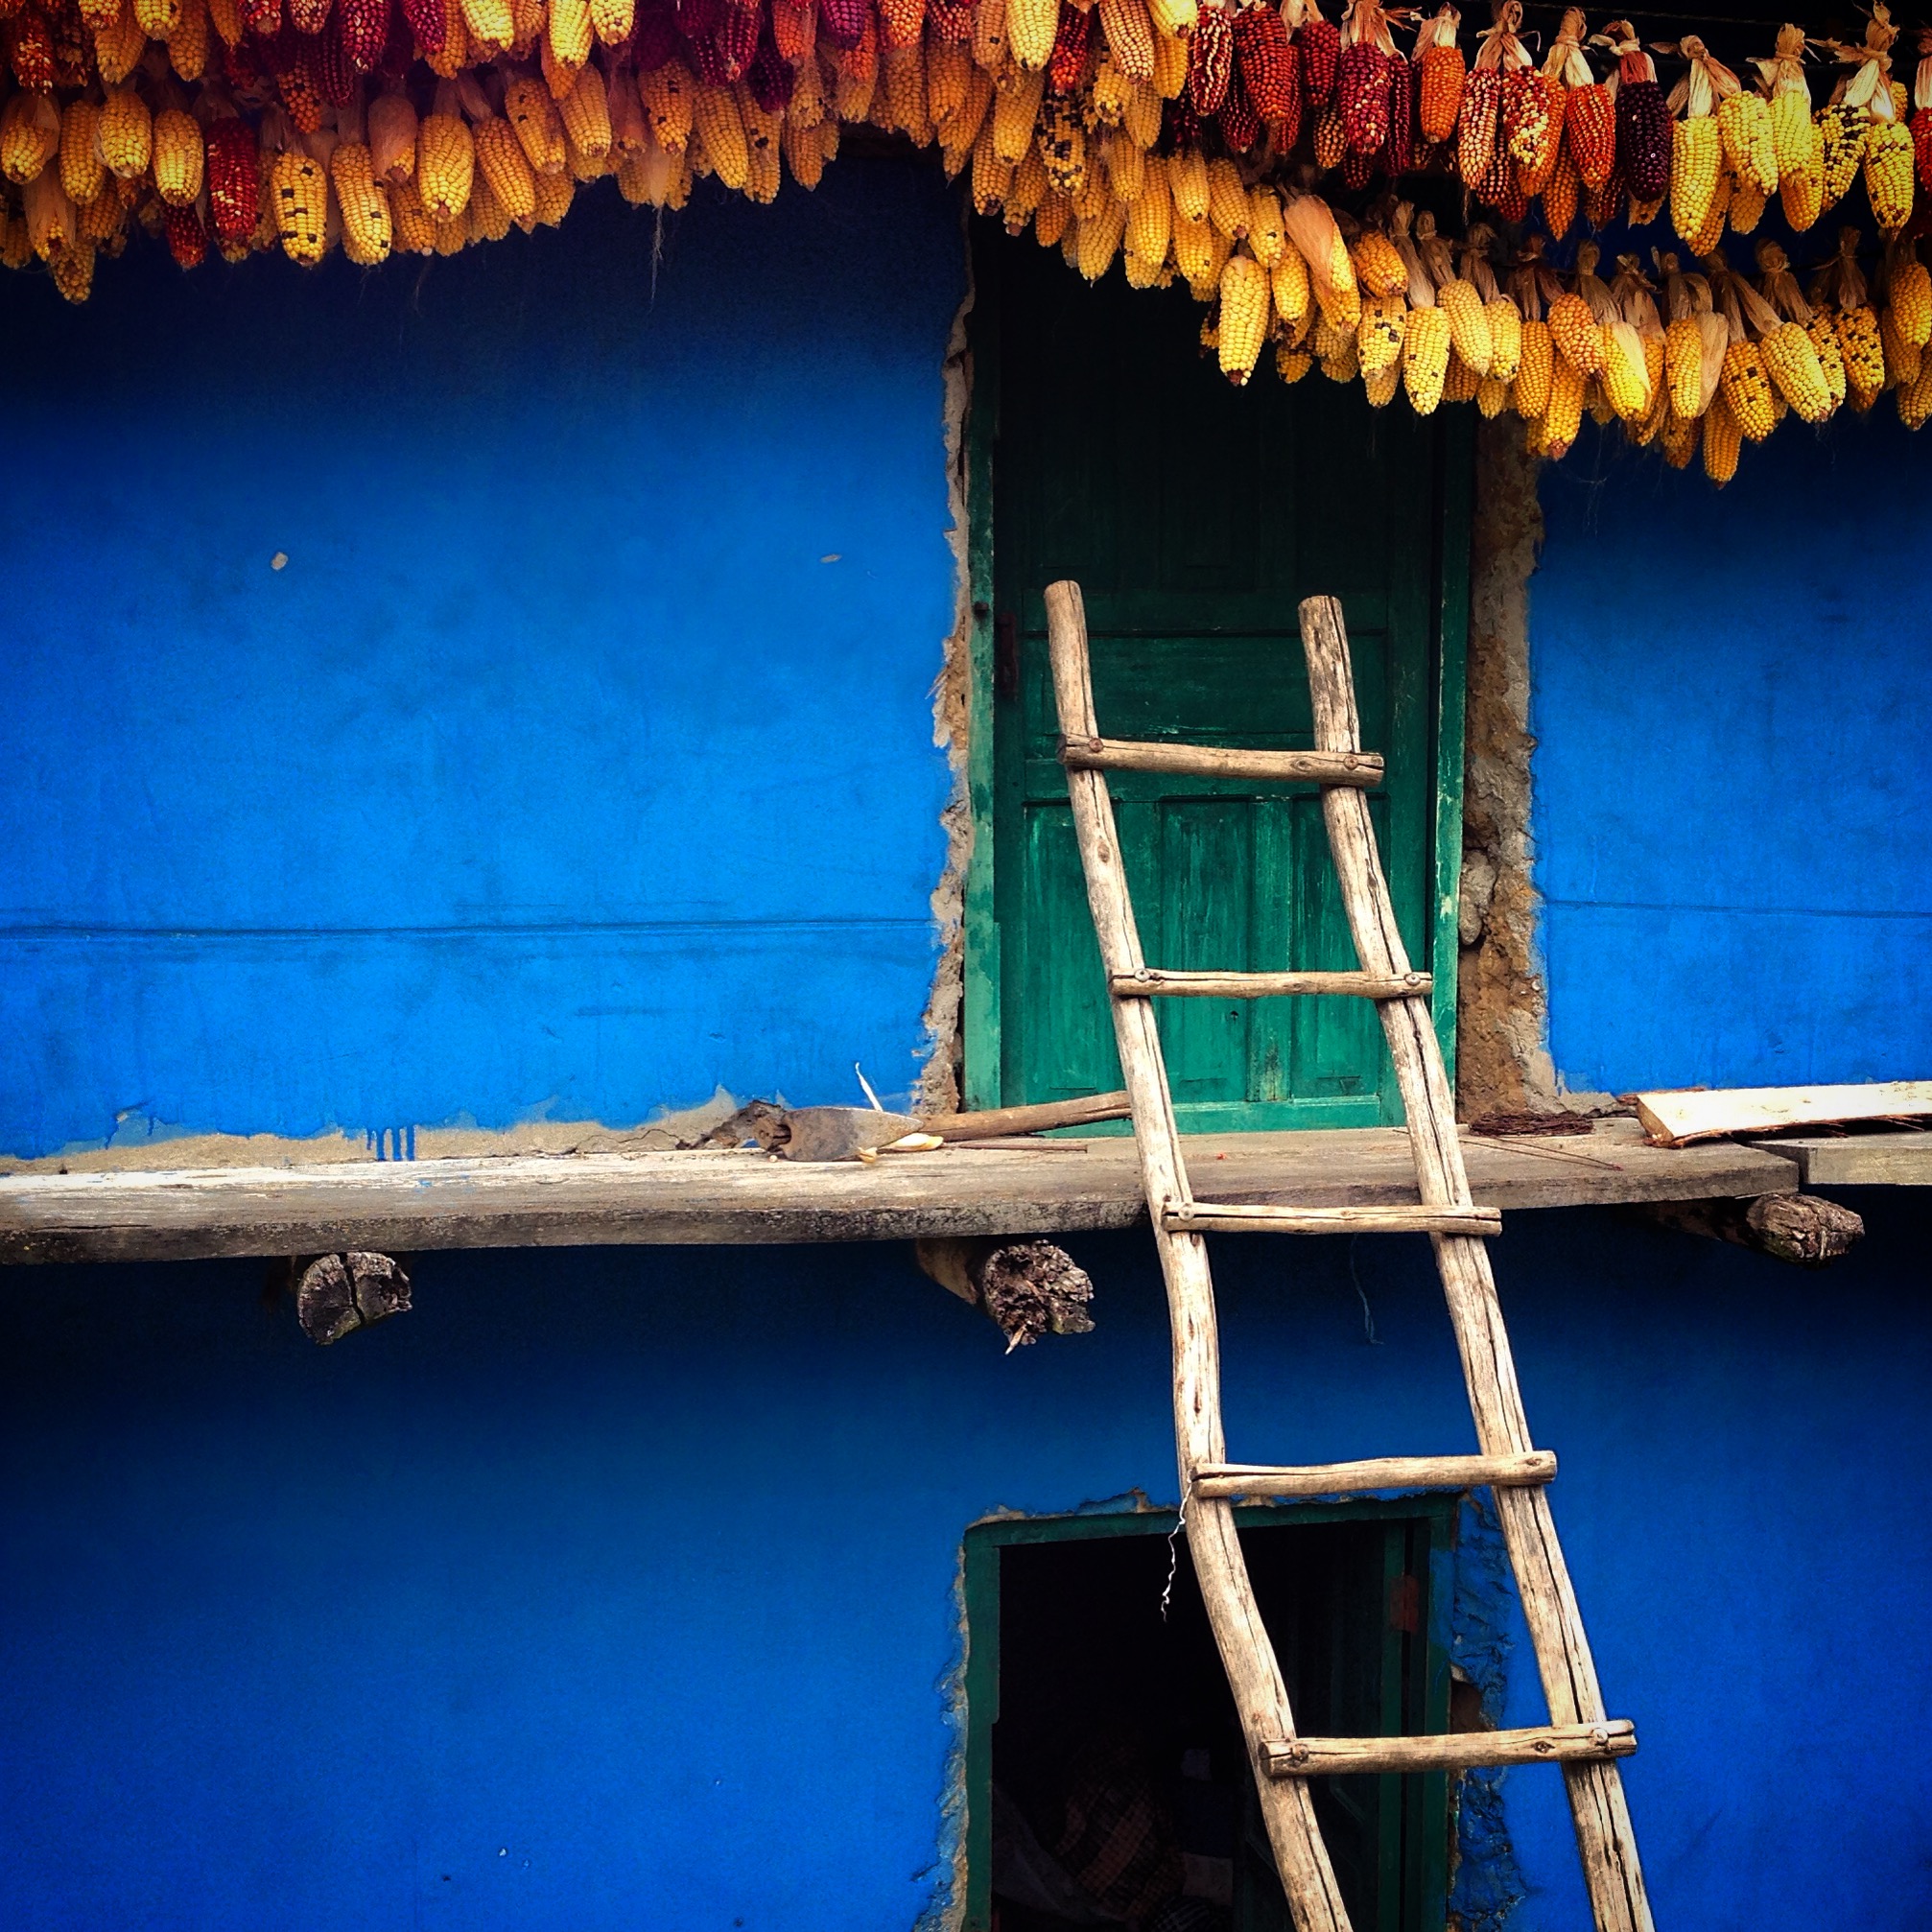
In the region near La Union, we saw a number of photogenic homes with drying corn displayed outside.
Once I got better, from Huallanca, we took the “paved” road to La Union (it is a pretty road through a canyon, slightly downhill, but the pavement is severely potholed). It seemed like there were plenty of services (but no ATM) in La Union. From there, we climbed steeply on a dirt road, which eventually mellowed out. We passed an archaeological site named “Pampas” on our right, and continued until it started raining. We passed a small establishment called “Huargo,” then in about 10k, we got to another tiny establishment called Huaracayog. Conveniently, there was a mini hospital on the side of the lonely road. We only hoped to camp under an awning, but the staff invited us in to sleep in the waiting room which also served as the everything room.
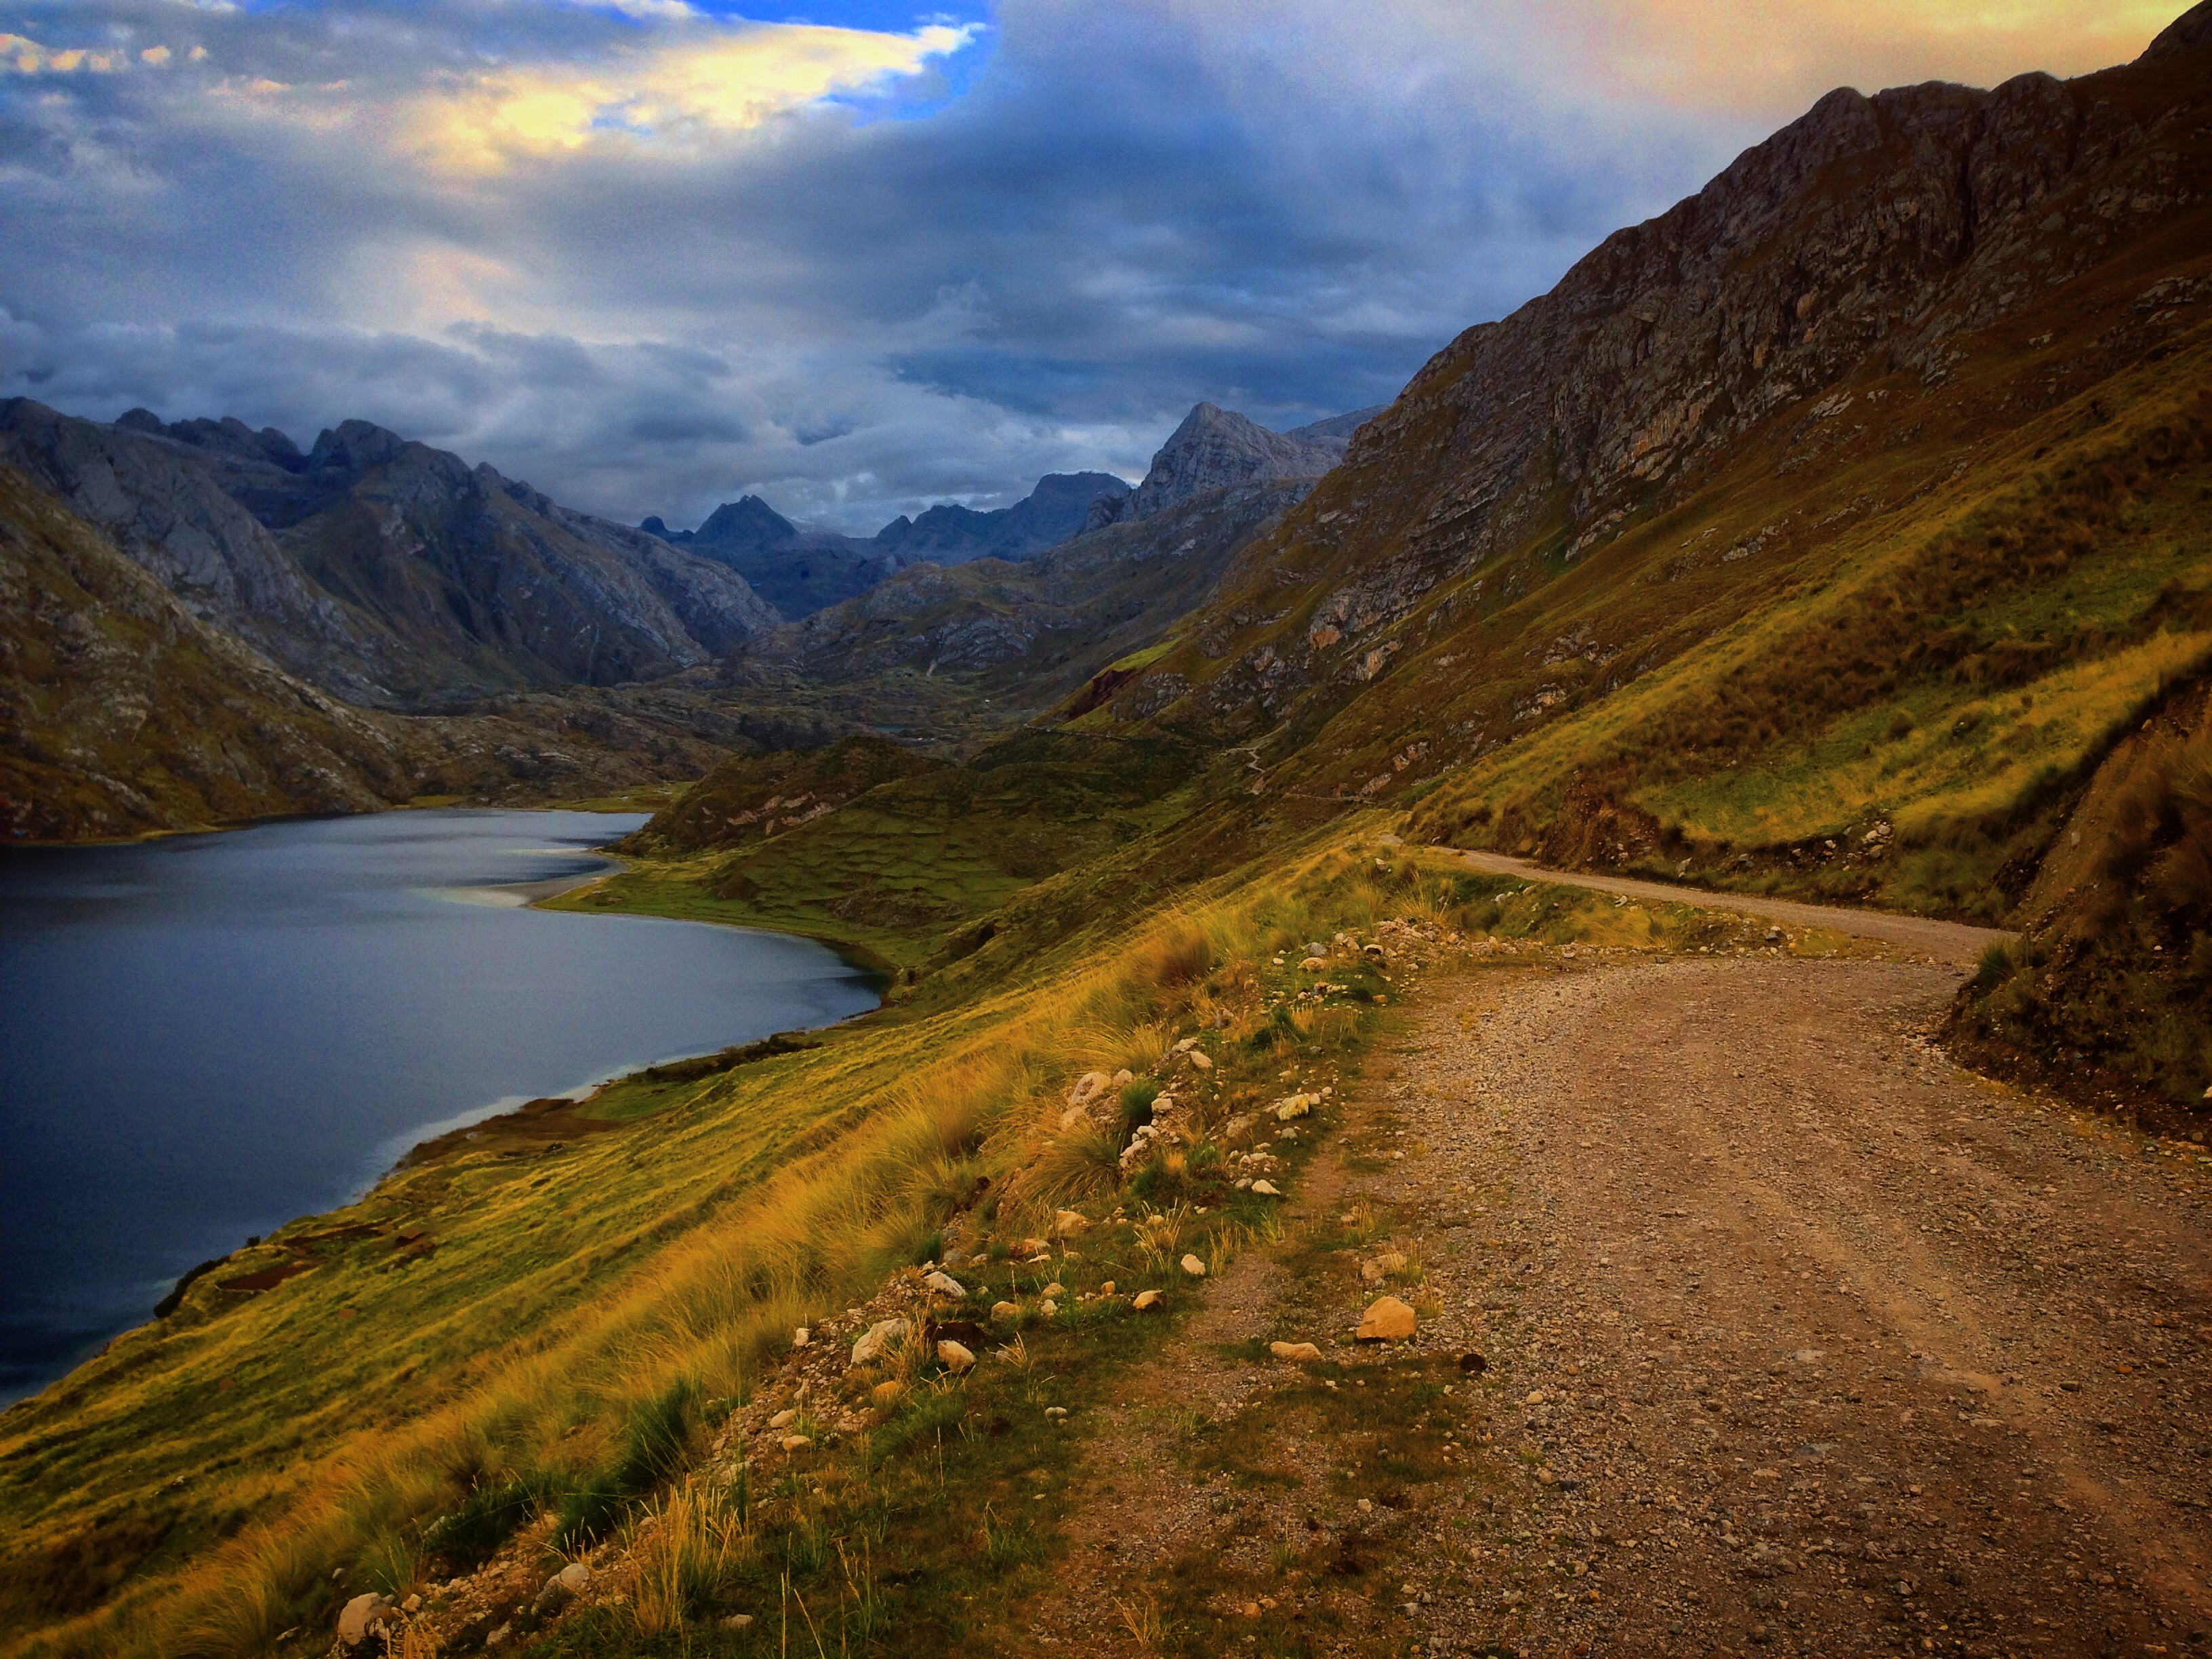
The next morning, we rode down to Baños, which has two hotels, services but no ATM. The scenery is nice in this area – but it really starts to get great as you near Laguna Lauricocha. We ended up riding to and spending the night at Laguna Lauricocha.
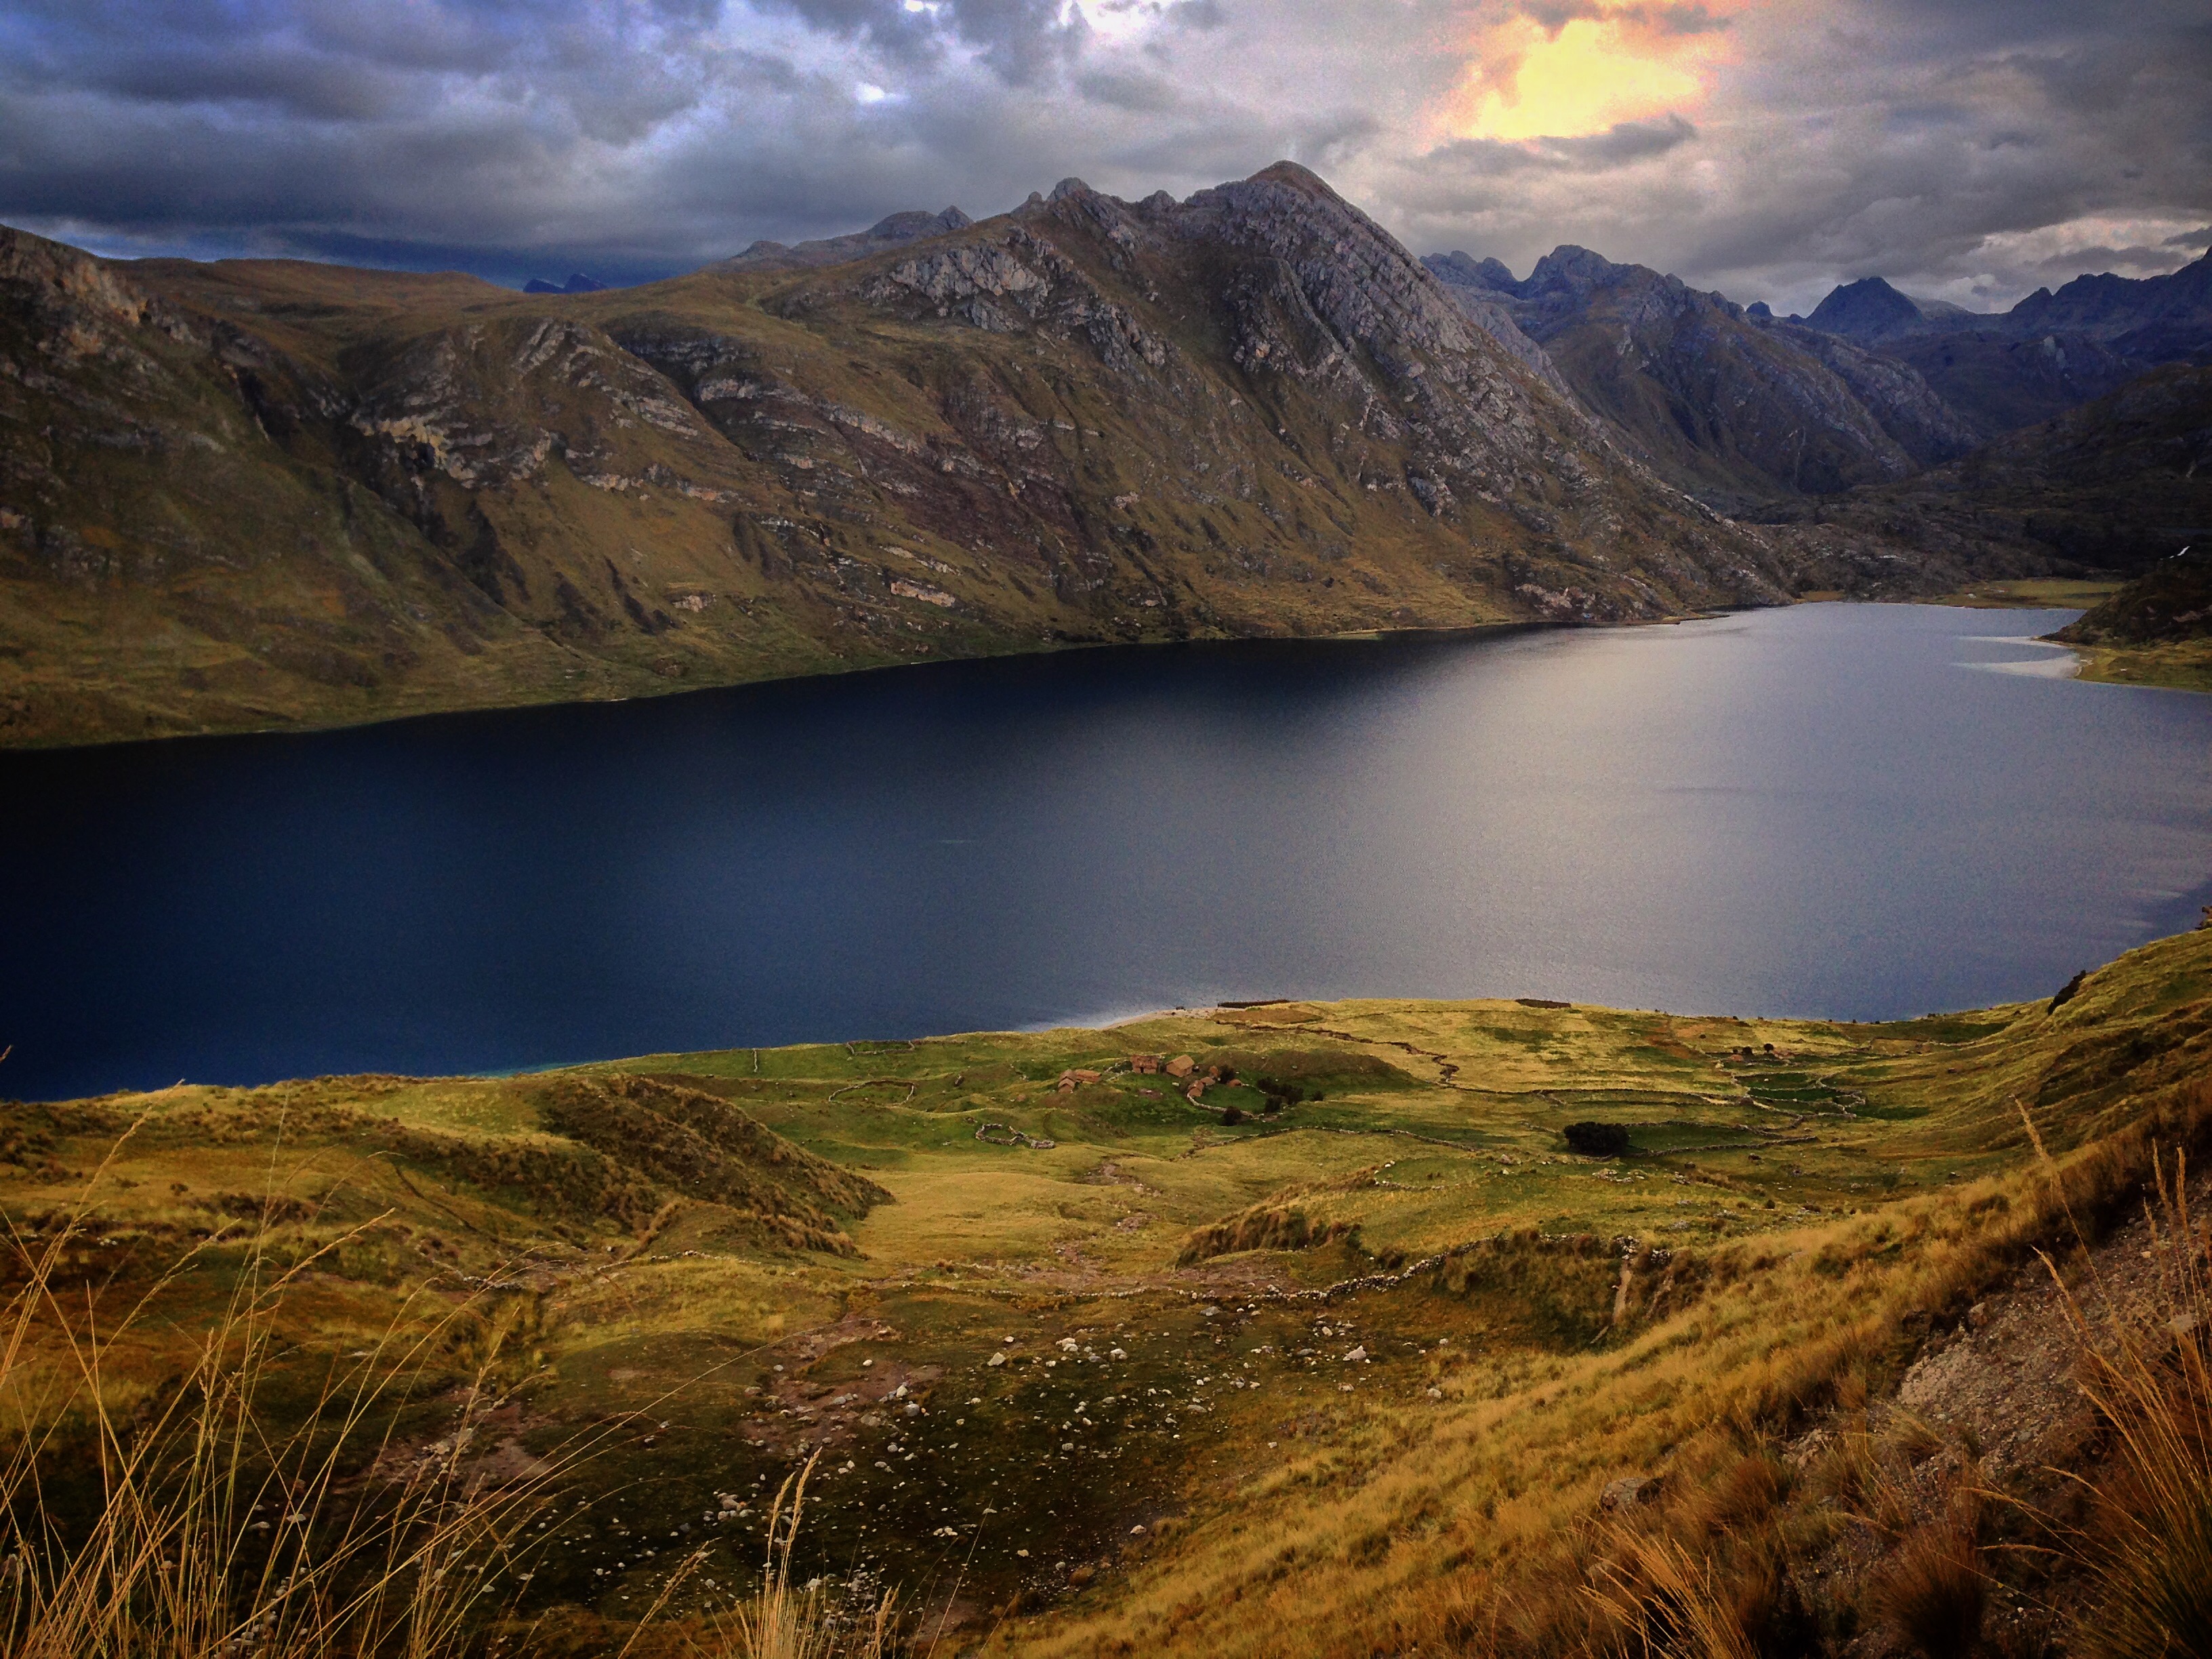
Laguna Lauricocha – one of the beautiful highlights of our alternative route through Huayhuash.
Laguna Lauricocha
Camping at the lagoon above Laguna Lauricocha
Note that the shore of the lake does not lend itself well to camping. If you examine our GPS track, there is at least one flat spot where we stayed. Before we got to the lake, a local in Antacolpa had offered us to stay in his house on the lake. He rode his motorcycle ahead of us, but unfortunately, we couldn’t find him when we arrived at the lake. Actually, for a while, we forgot about him while we were being dazzled by an amazing sunset over the lake that had us brimming with emotions.
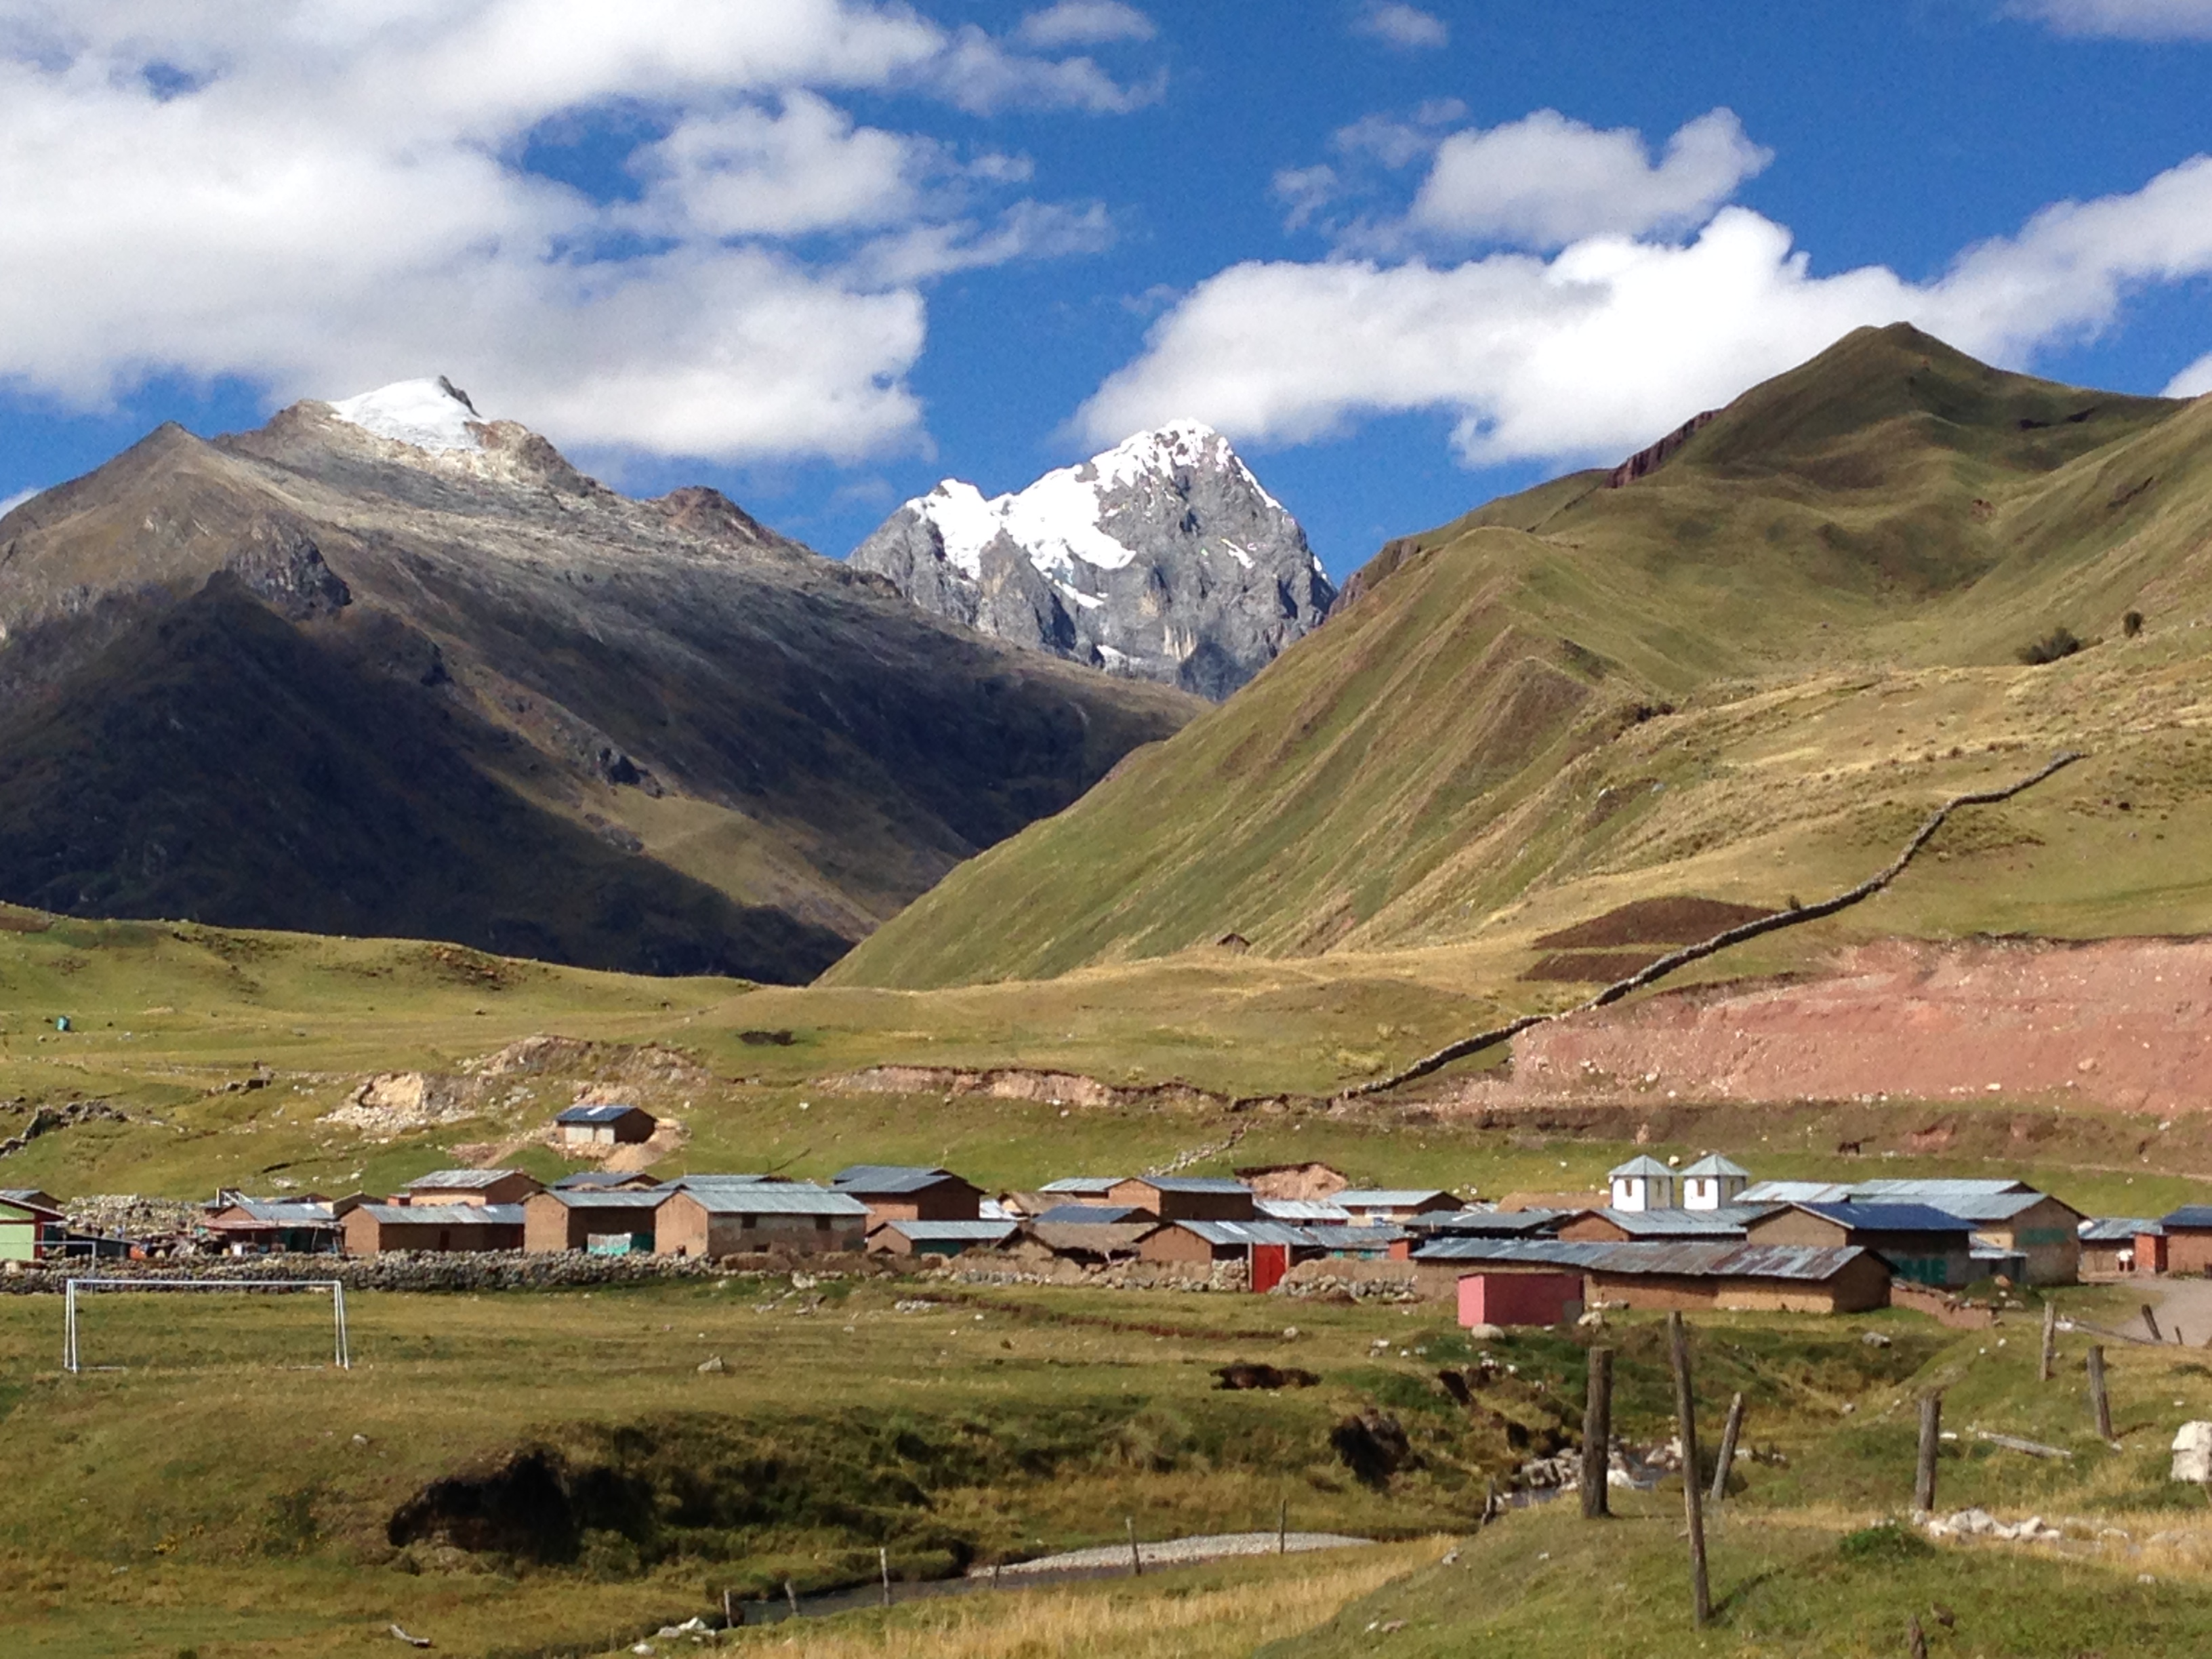
A small settlement nestled between Yarupa and Nevado Santa Rosa
After you leave Laguna Lauricocha, you will be heading up over a pass where there is an active mine. Some people may not like the fact that there is a mining operation in this beautiful, natural area. I personally didn’t mind it because I’d rather be riding our 110 pound bike instead of carrying it.
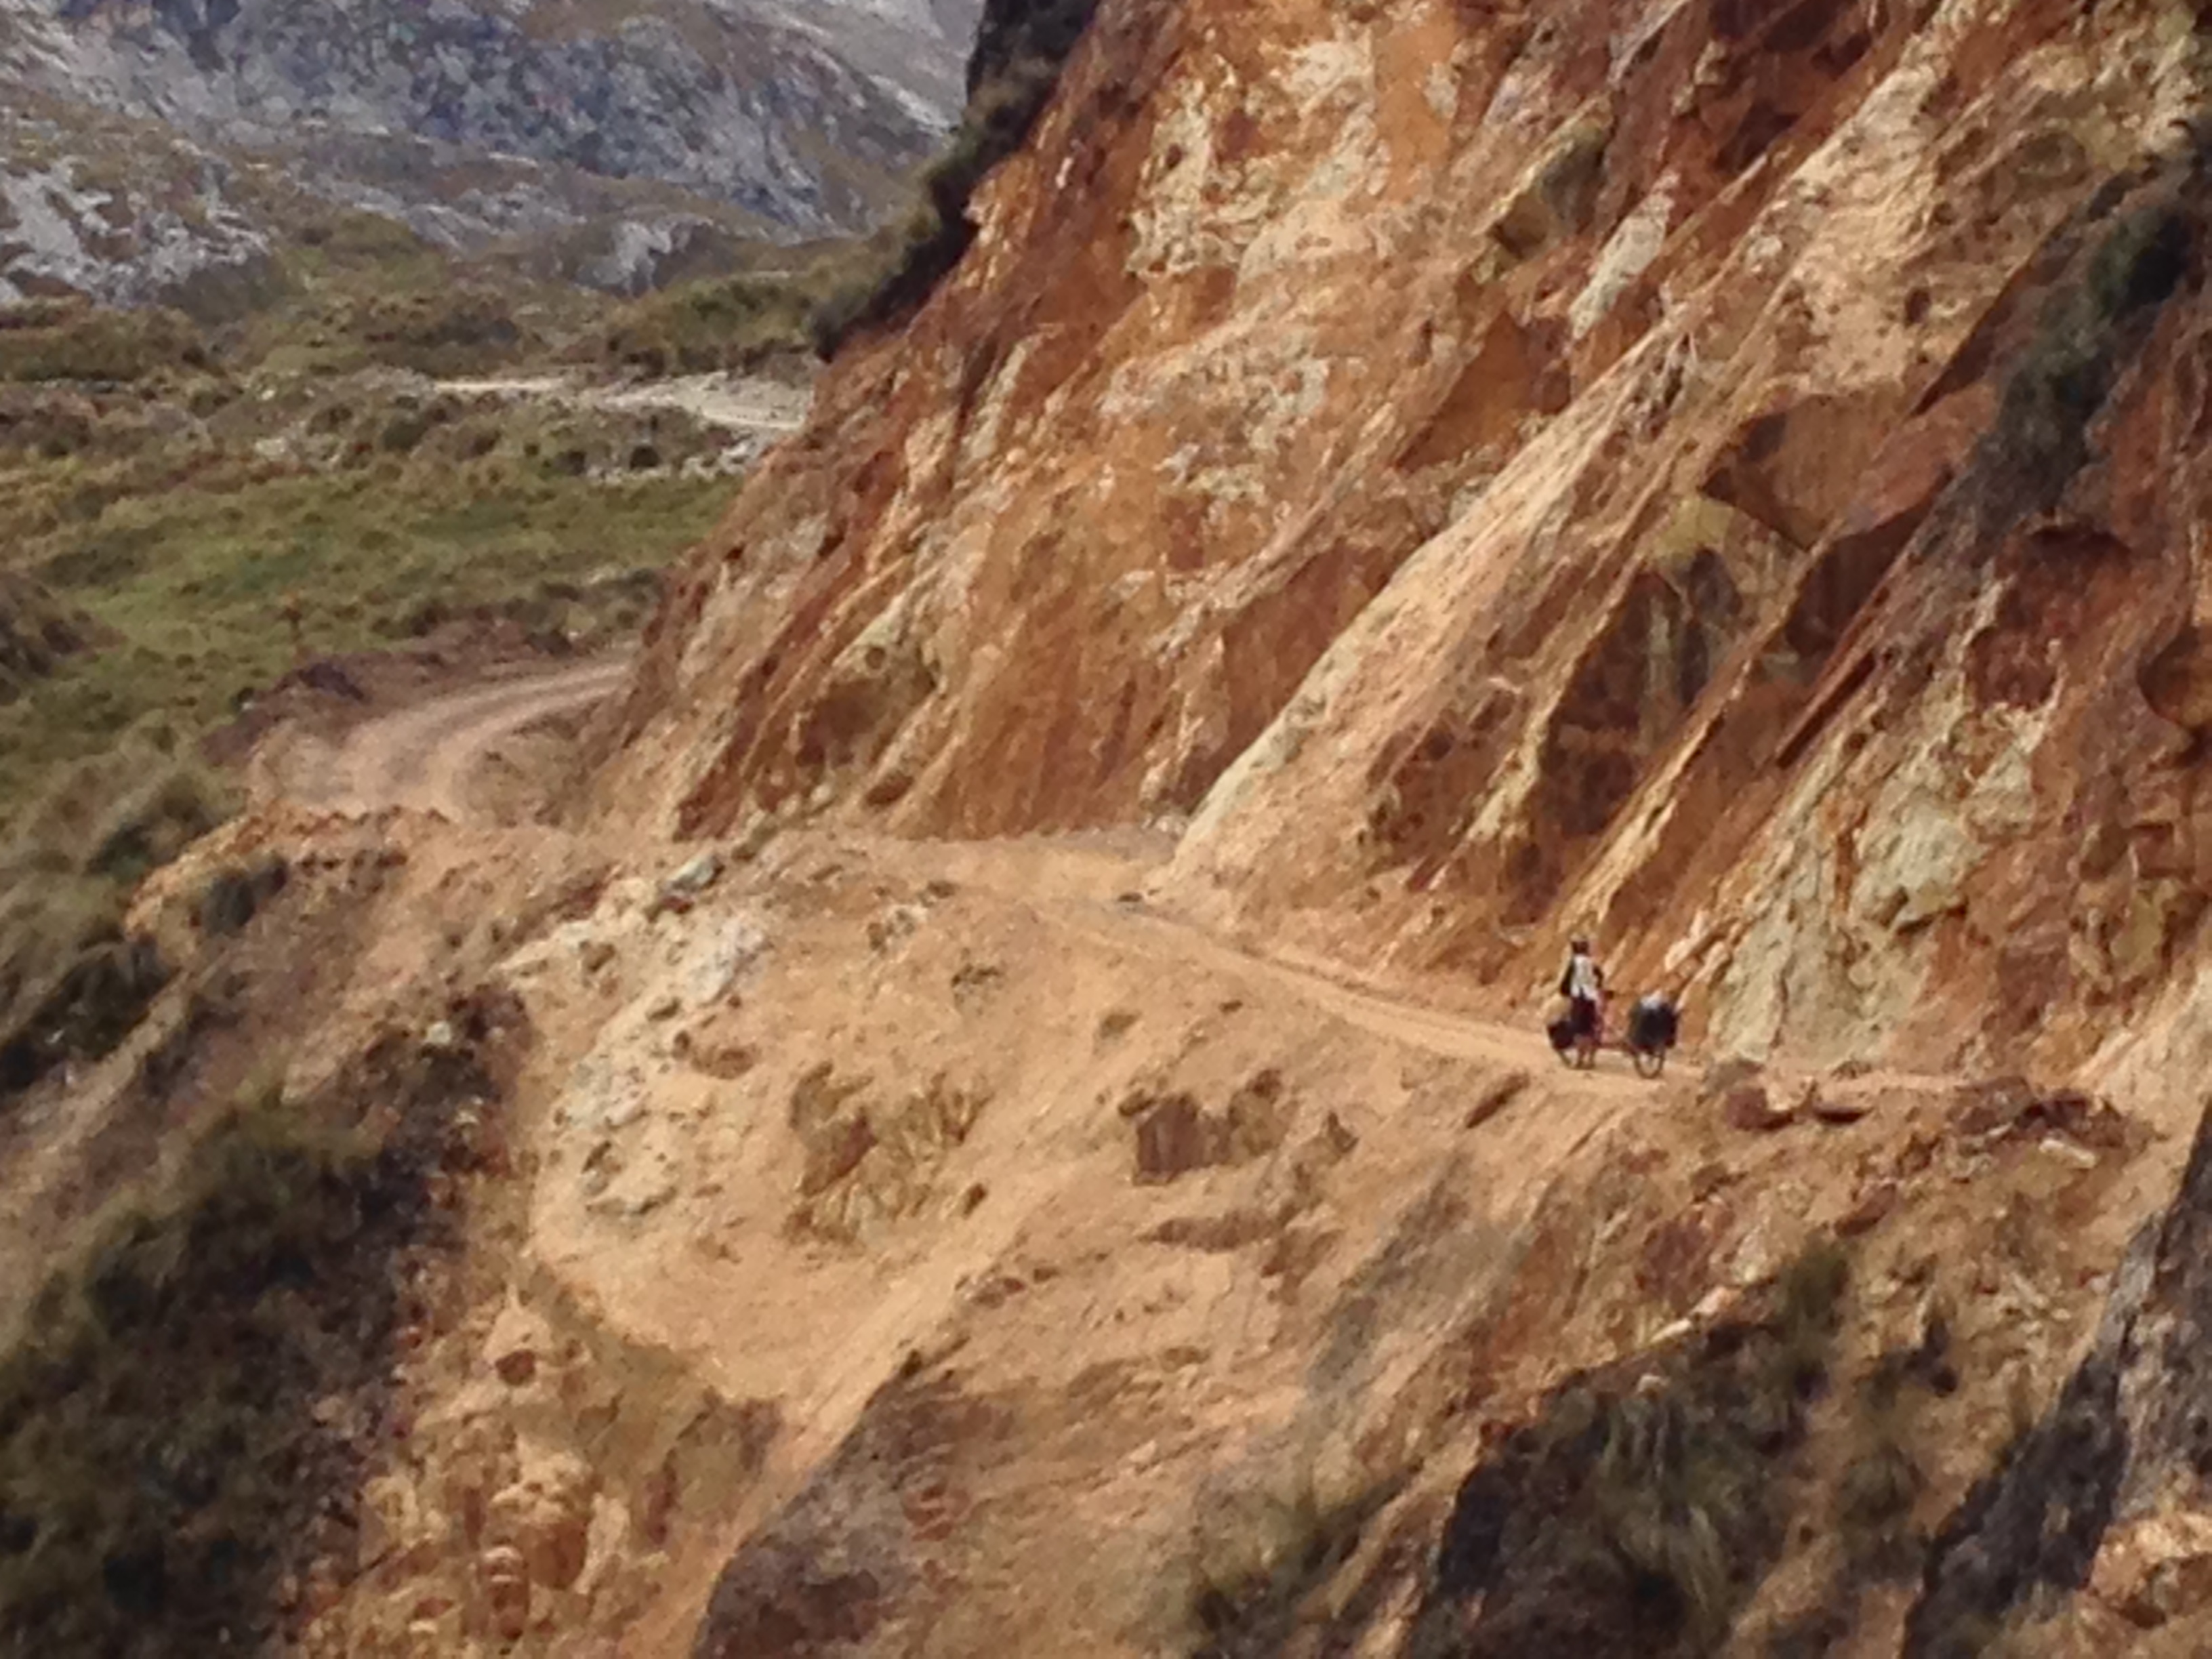
On the way up, the dirt road is pretty good – but this section looks vulnerable to landslides in the future.

Just below the pass, there is an active mine with friendly workers. We passed through with no problems.
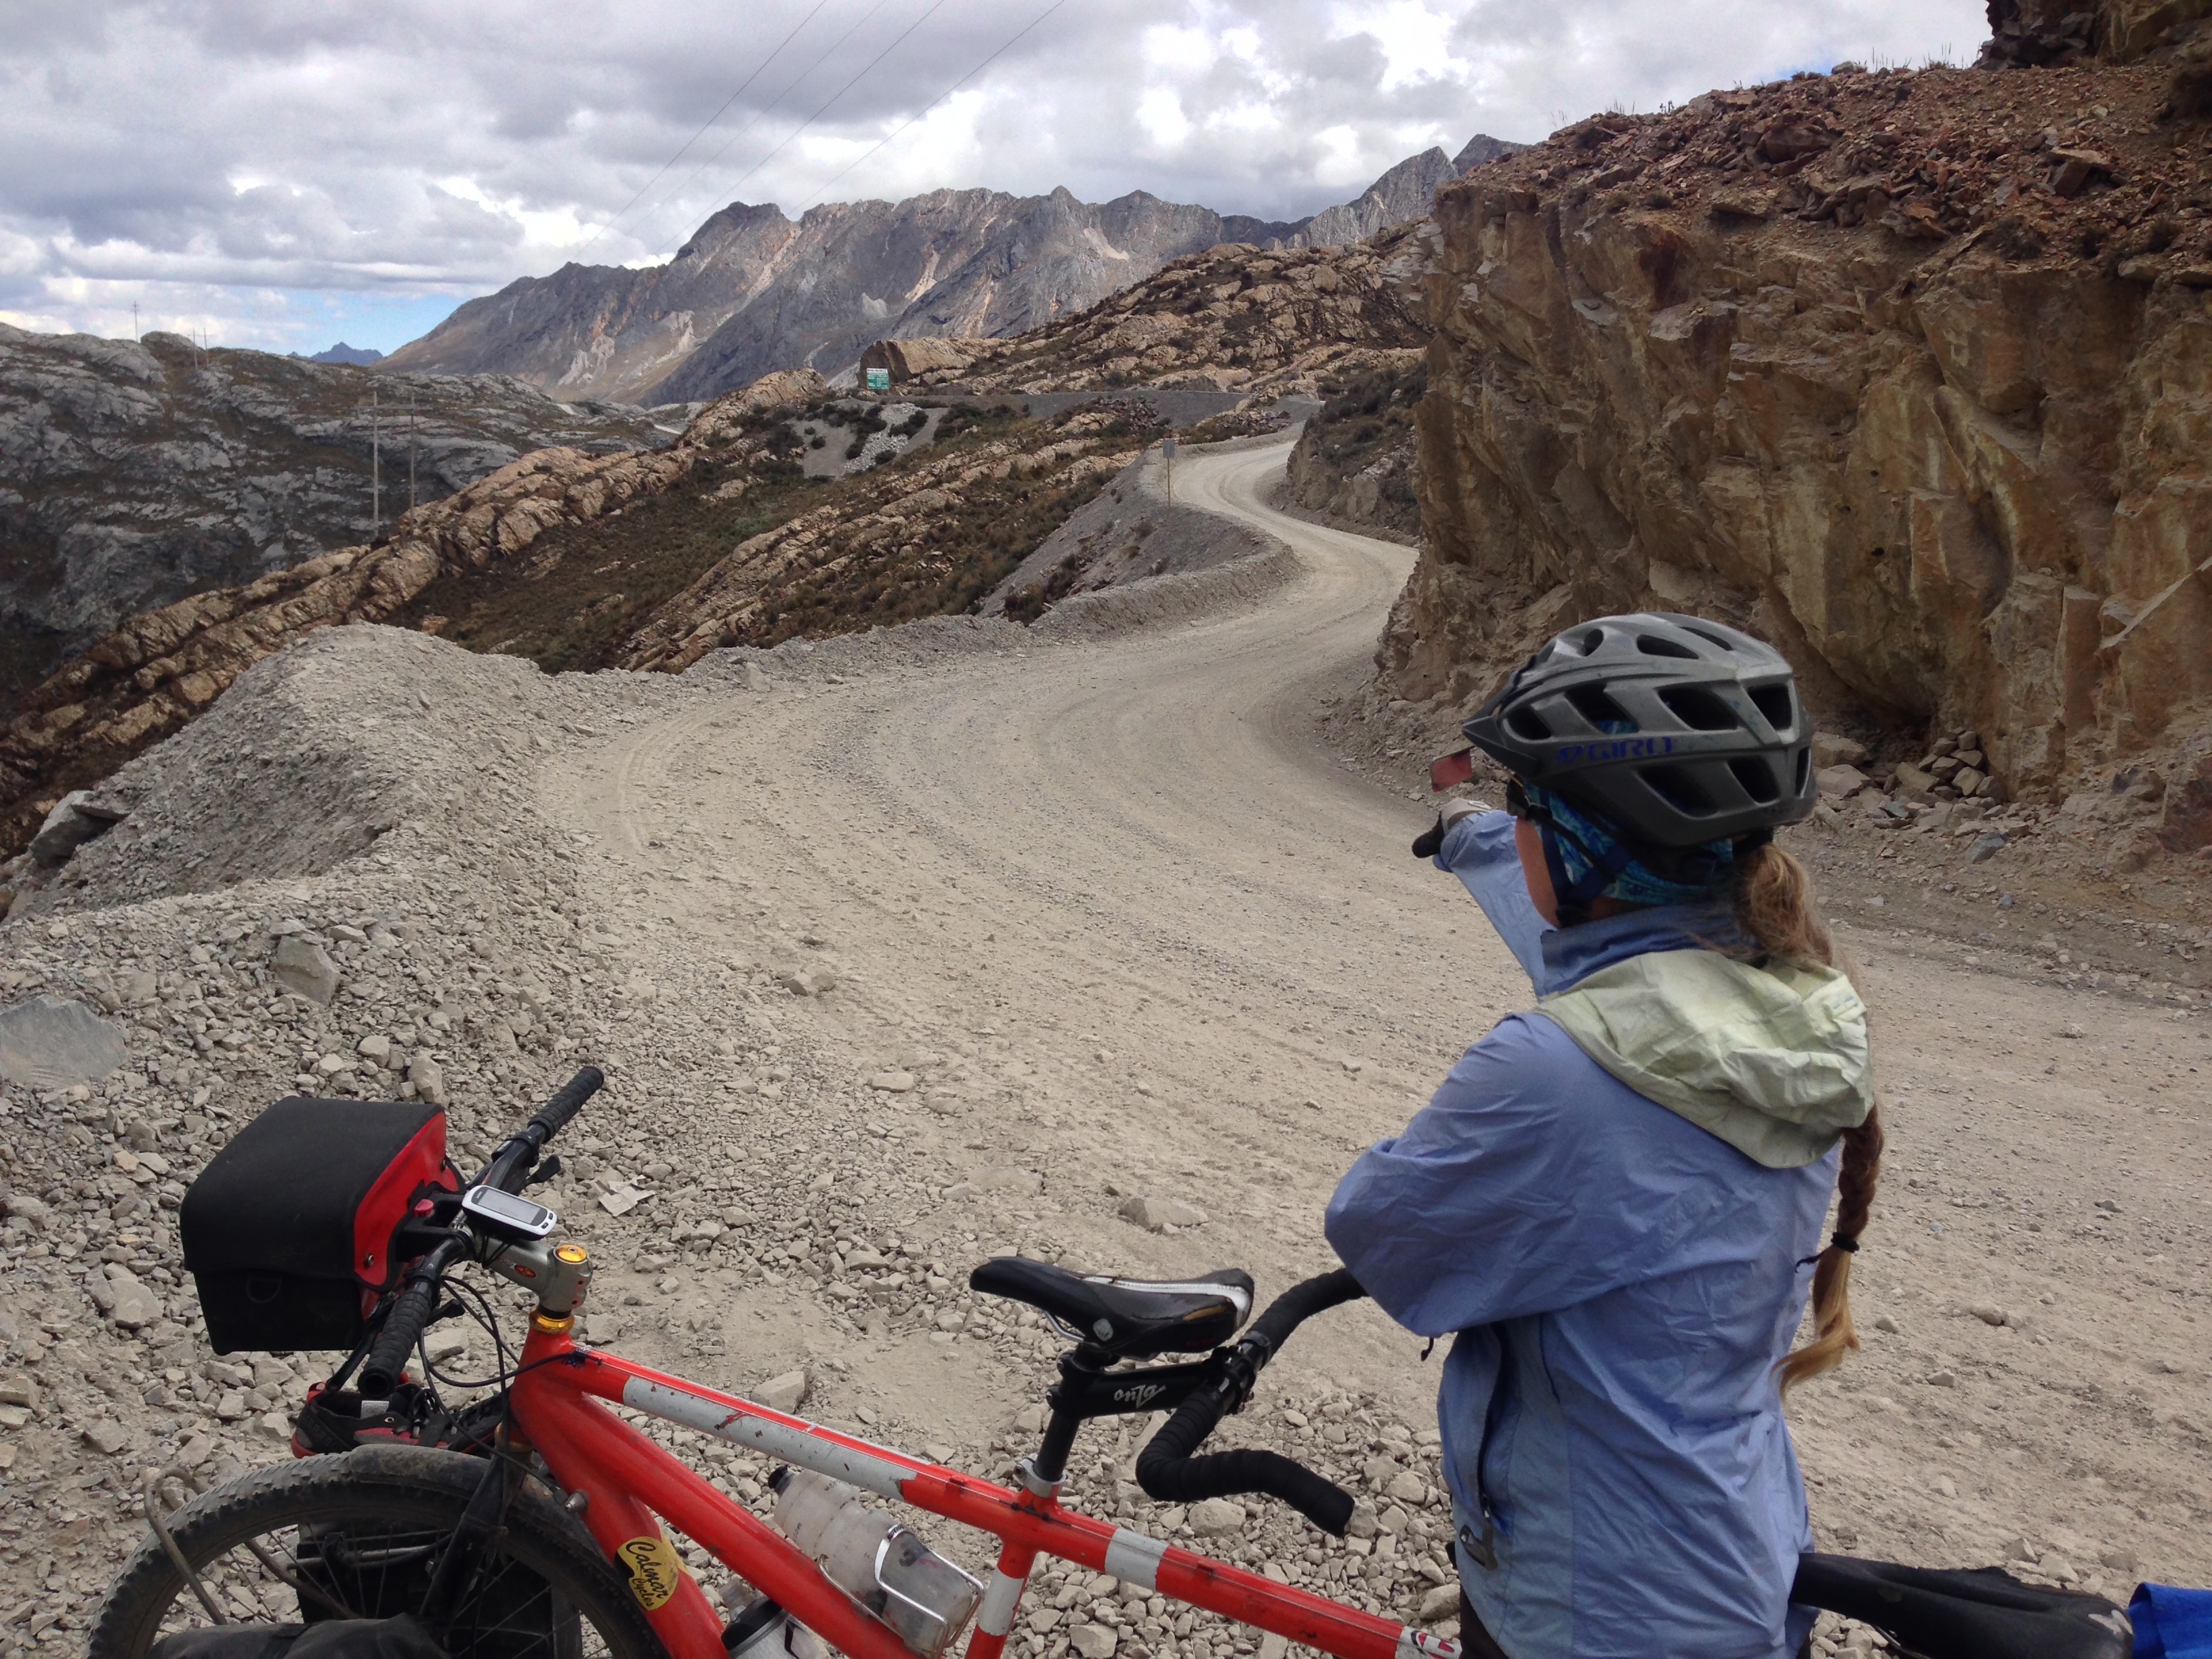
The pass at the summit is fairly benign.
Riding down to Oyon from the mine.
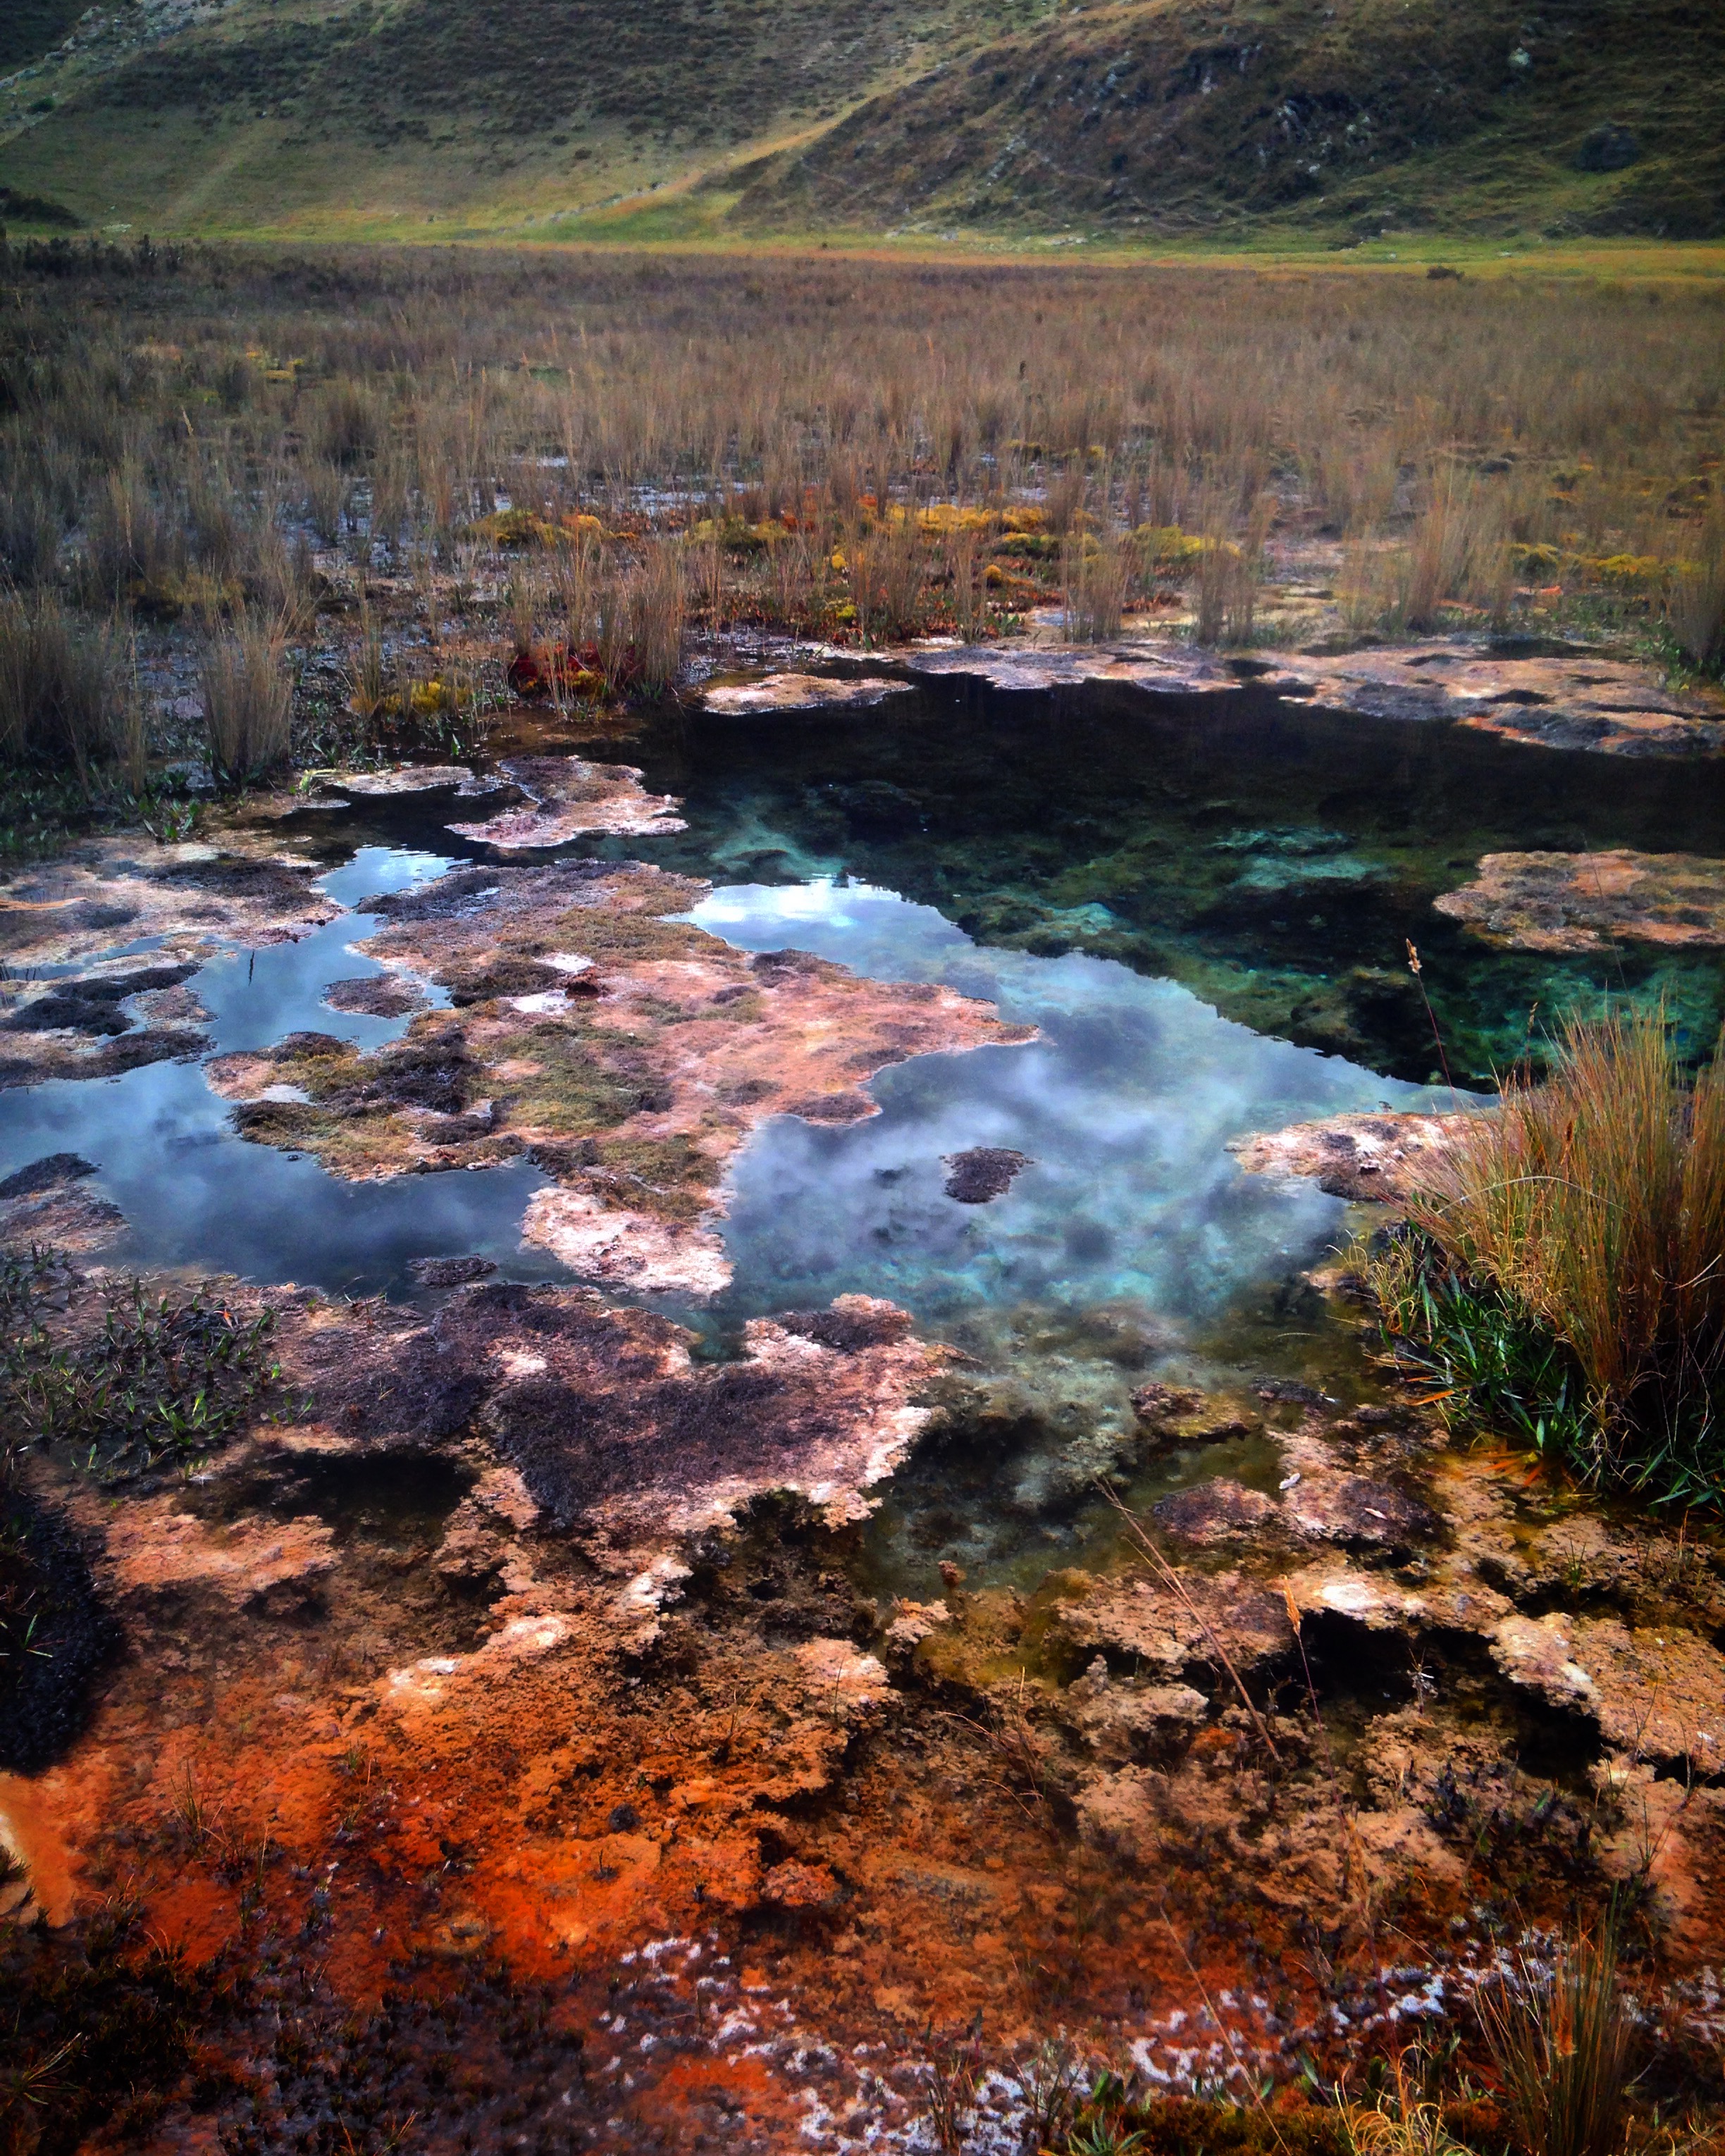
Below the mine, on the Oyon side of the pass, colorful pools of mine tailing make for a beautiful sight – but don’t filter your water here!
I hope you enjoy this route, or that you use the information on this page to try one of the alternative routes. Once you get to Oyon, you have a few options:
1) Follow the Pikes’ route. They have a well documented route that avoids major roads.
2) Follow our route in the next post (a slightly modified version of the Pikes’ route that avoids a bike climb, some extra dirt road riding, and a mine (Rapaz) that technically is illegal to ride through).
3) Take the paved road toward the coast (who would want to do that?)!
This is the map for the entire route discussed in this post. To Export GPX files, click on the three horizontal bars in the upper right hand corner of the map and select Export selected map data…
To see this map in a full screen, click here (opens in new window)