Bike Touring Colombia – Ibague to Neiva via the Tatacoa Desert
To make up some time, Janet and I had planned to ride a bus through the “boring” (as we perceived it) low, flatlands. Our perspective on the lower regions is that they are hot, bear a greater risk for contracting disease, and have a higher probability of encountering crime. Furthermore, we both love wondering “what’s around the next corner?” Mountain roads give us twists and turns – mysterious corners – whereas lowland roads are often straight lines.
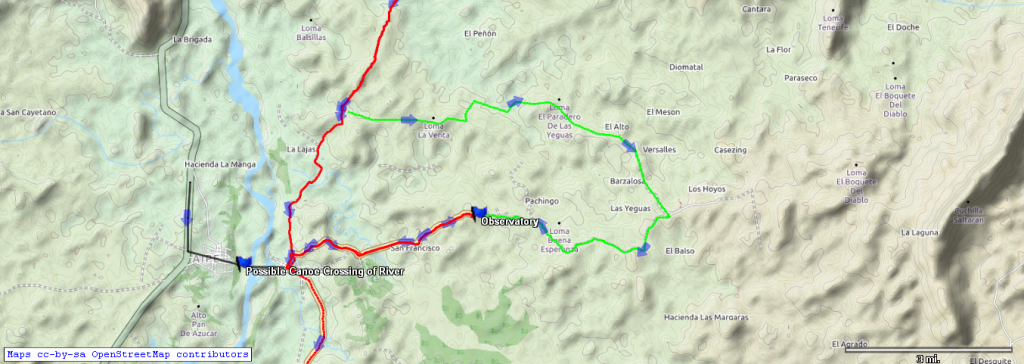
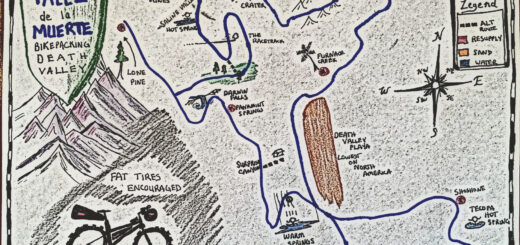
There are two ways to get to Villavieja from the North. Villavieja is the “jumping off point” for trips to the Tatacoa desert. Villavieja is located beneath the word “canoe” on this map. The difficult, unpaved but beautiful way is the red line coming from the North. You begin this in Pueblo Nuevo after jumping off the Highway on a dirt road to the East. Another option from the North is to follow the black line to where you can take a canoe across the river. If you are coming from the South, it is logical to take the good quality paved road from Neiva (the Southern portion of our red line). The red line from Villavieja to the Observatory is good quality, easy rolling pavement. I’ve also drawn in a green line that indicates an off-road route through the complete desert. This takes you past the observatory in the “Cuzco” region – to the “Hoyos” region which has gray rock.
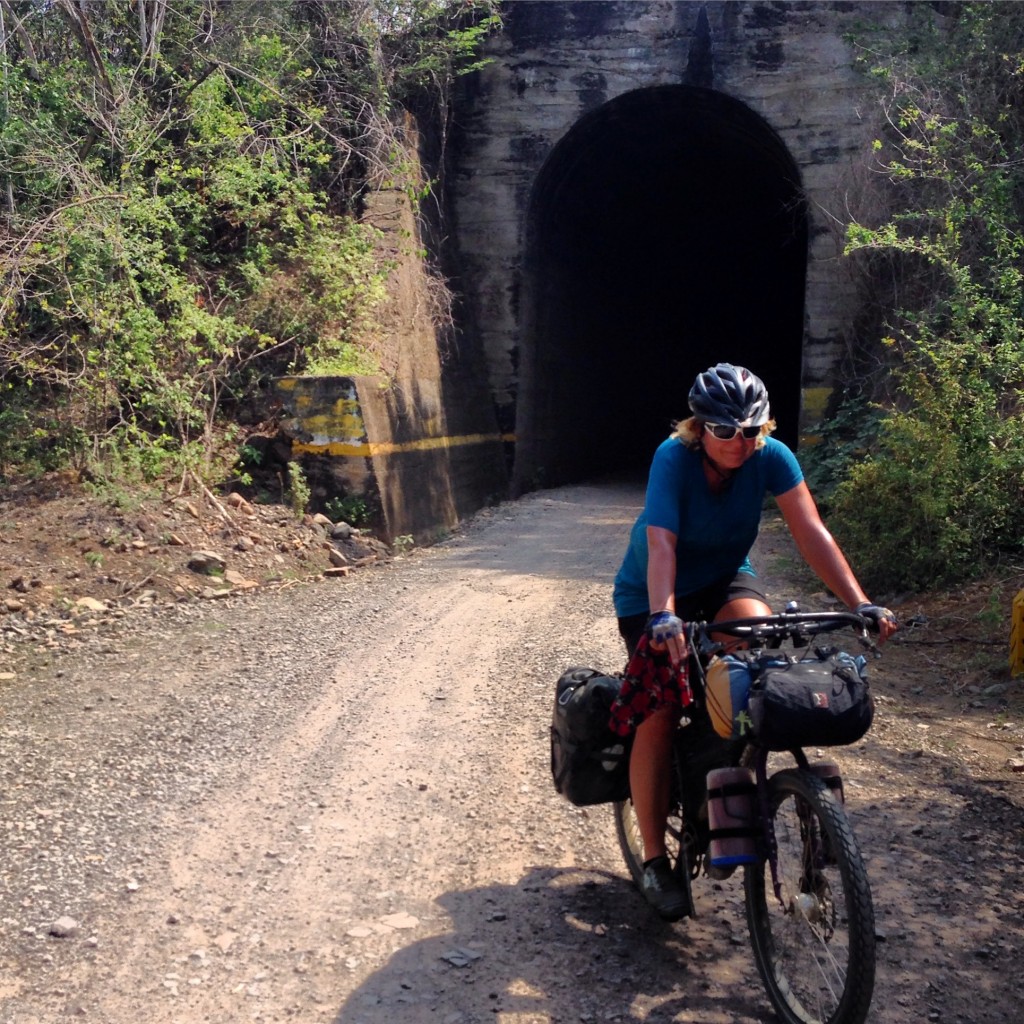
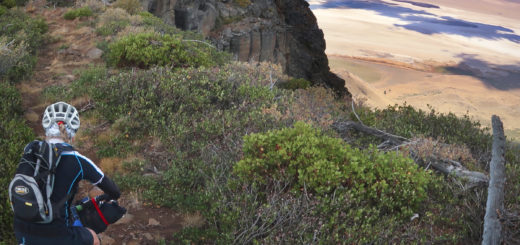
Just after you leave the paved road in Pueblo Nuevo, you will pass through a couple of cool tunnels. For the first mile, you may think you’re on a rail-trail. That changes quickly, however, as you are suddenly hit with numerous steep climbs. This picture is of Sue who we met a couple days prior.
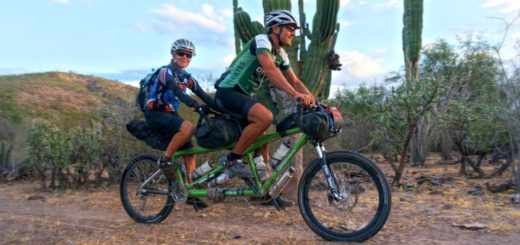
Our plan changed when we met Scott and Sue. We found this cycling pair to be extremely compatible with our personalities and touring style. We like the same aspects of travel as they do, and they had lots of great stories to keep us entertained. They told us that there was something to see along the route from Ibague to Neiva – the Tatacoa Desert. I checked my Footprint brand guidebook again, and sure enough: a mere two lines had been dedicated to this destination. It did not even appear in the index.
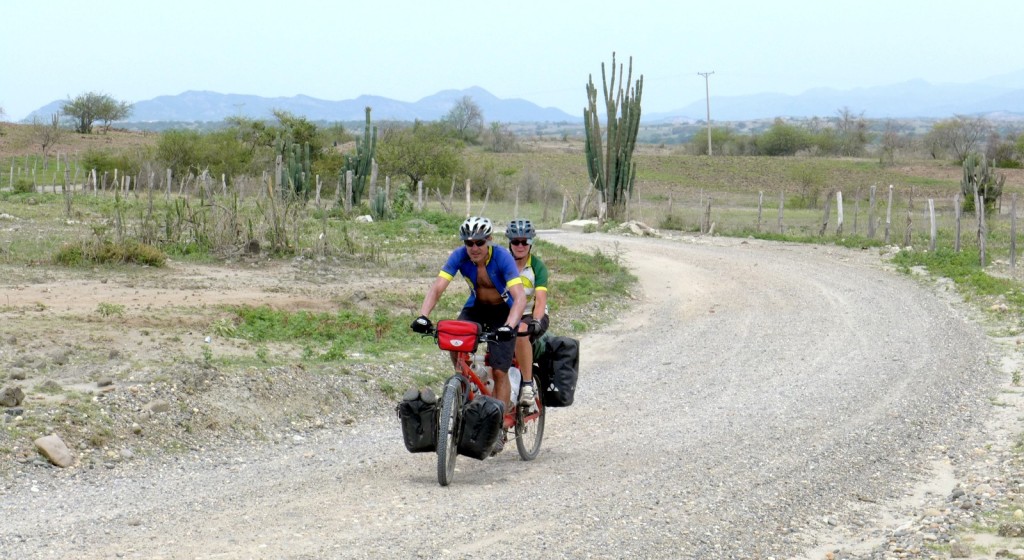
As you head South, the terrain becomes drier and drier. The Eastern road from Pueblo Nuevo to Villavieja is all dirt with a lot of river rock on the surface. It’s a nice, but difficult way to enter the park. There are many many short and very steep climbs. (Photo Courtesy of Scott Mlynarczyk)
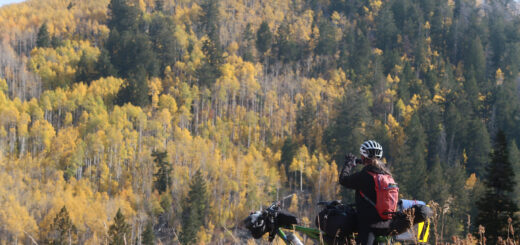
We decided to go see the desert, and although it was hot and difficult, we’re absolutely glad we made the effort! The Tatacoa desert is named after the Tatacoa snake which is now extinct. This “desert” is really considered to be a dry tropical forest – though it sure looks like a desert to me.
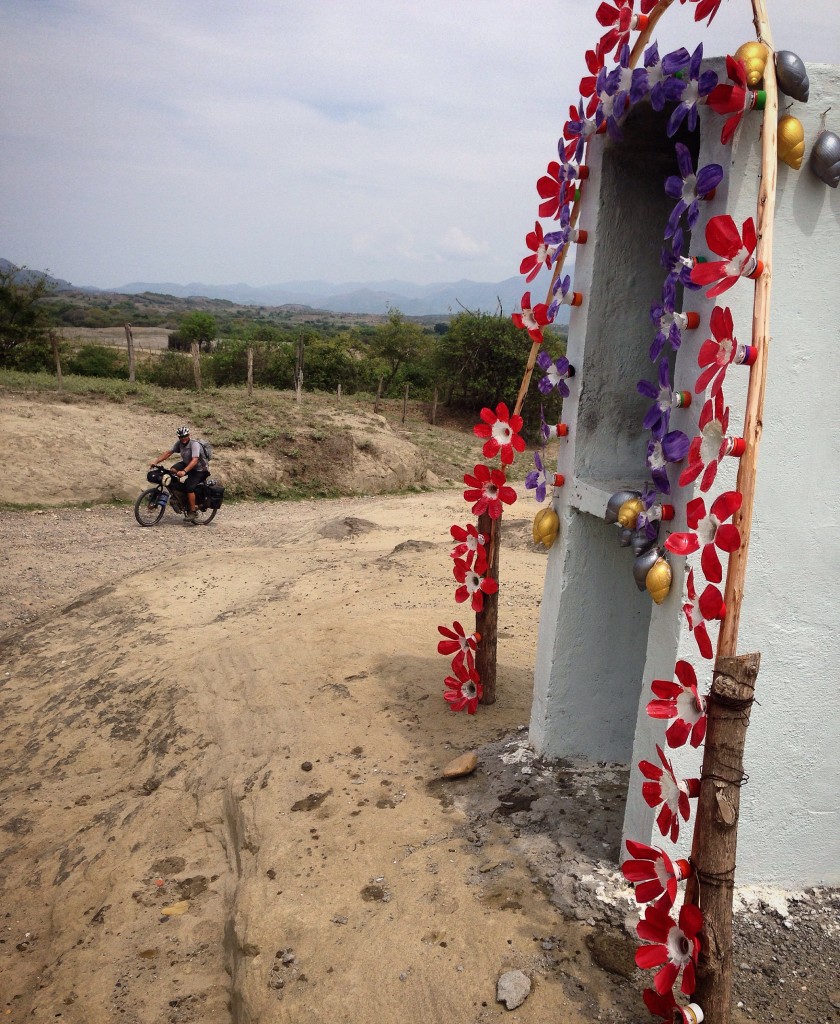
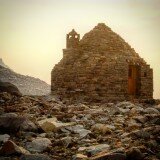
There are a few shrines along the route to increase the scenic value of the desert. This picture is of Scott.
There are two main routes coming from the North. The first route, which I call the “full desert” has you exit the main highway at a “town” called Pueblo Nuevo. Pueblo Nuevo is just before KM 65 (as you are heading South); you make a left turn off the highway onto a dirt road. At first, it looks like nothing but some brick buildings, but soon you are riding on a nice concrete road past some cool looking houses in the desert. There is at least one place to buy refreshments, and we stopped there. By the way, the road from Ibague all the way to Pueblo Nuevo is paved and well graded. The second route has you heading down the highway all the way to Aipe, where you can take a canoe with your bicycle across the river. From there, you can ride into Villavieja.
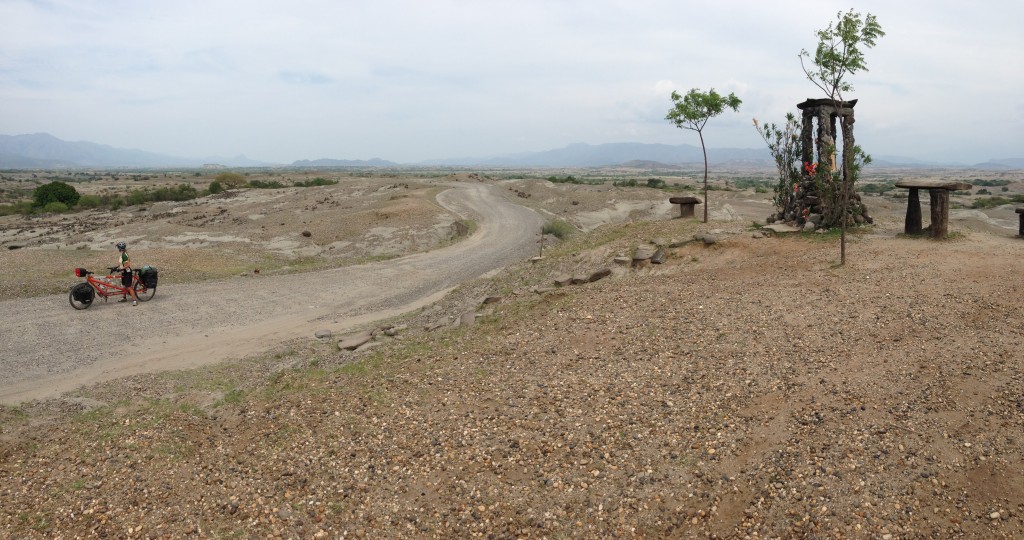
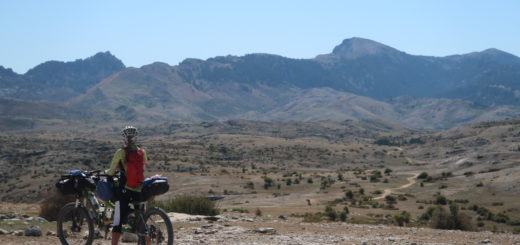
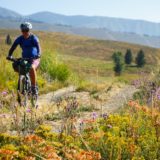
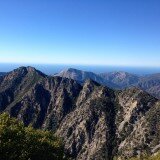
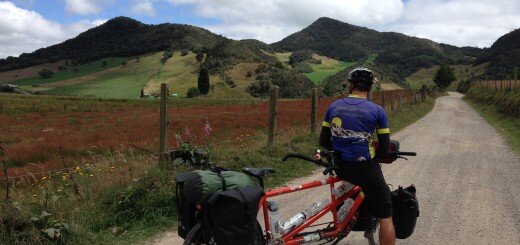
Looking back towards the North. As we worked our way South, the terrain became drier and drier.
Heading South, the terrain becomes more rugged and difficult. It took us over 8 hours to cover the 58 miles from Saldaña to Villavieja. You will probably need to break the trip from Ibague to Tatacoa into 2 days. Note that there are plenty of accommodations in Natagaima. It would have made more sense to lodge there instead of Saldaña when coming from Ibague. Once you get on the dirt portion at Pueblo Nuevo, there are a few small towns where you can stop for a break and refreshments. The two towns we stopped at (one of them is named La Victoria) were both friendly and clean. Moreover, they both had shade giving tree-lined streets. It was very nice, and they were spaced perfectly for loaded bike tourists in the hot sun.
On the paved road between Villavieja and the Tatacoa desert center. There are two portions of the desert: the red colored “Cuzco” portion, and the gray colored “Hoyos” portion. The road becomes unpaved once you pass the Observatory, heading into the Hoyos section.
When you get into Villavieja, you’re faced with a decision: to lodge in the desert, or to lodge in Villavieja. In the desert, you can camp for free by the observatory – but keep in mind, this is the desert – it is VERY hot, even at night. You can also lodge at a couple of places in the Cuzco and Hoyos regions. Noches de Saturno (cel 312-411-8166) is one of these, offering basic accommodation only 400 meters from the observatory (Cuzco). Price is about 25,000 COP, but they only have two rooms that sleep 4. None of the hotels in the desert proper offered air conditioning. Also, you can lodge at Estadero Los Hoyos in the Hoyos area cel 311-536-5027. In Villavieja, we investigated hotels, and found them to be relatively pricey – but we did find a large room at the Hospedaje connected with a hardware store for 50,000 COP per night. It had good air conditioning as well as a refrigerator, fan, and laundry area. We were glad that we stayed in town because of the comfort. If you’re on bicycle, this may be the way you want to go. If you are taking transport, you may find it more economical and convenient to just stay overnight in the desert. There is food available at a few places in the desert (small outdoor stand across the street from the observatory, and also at the cabañas.)
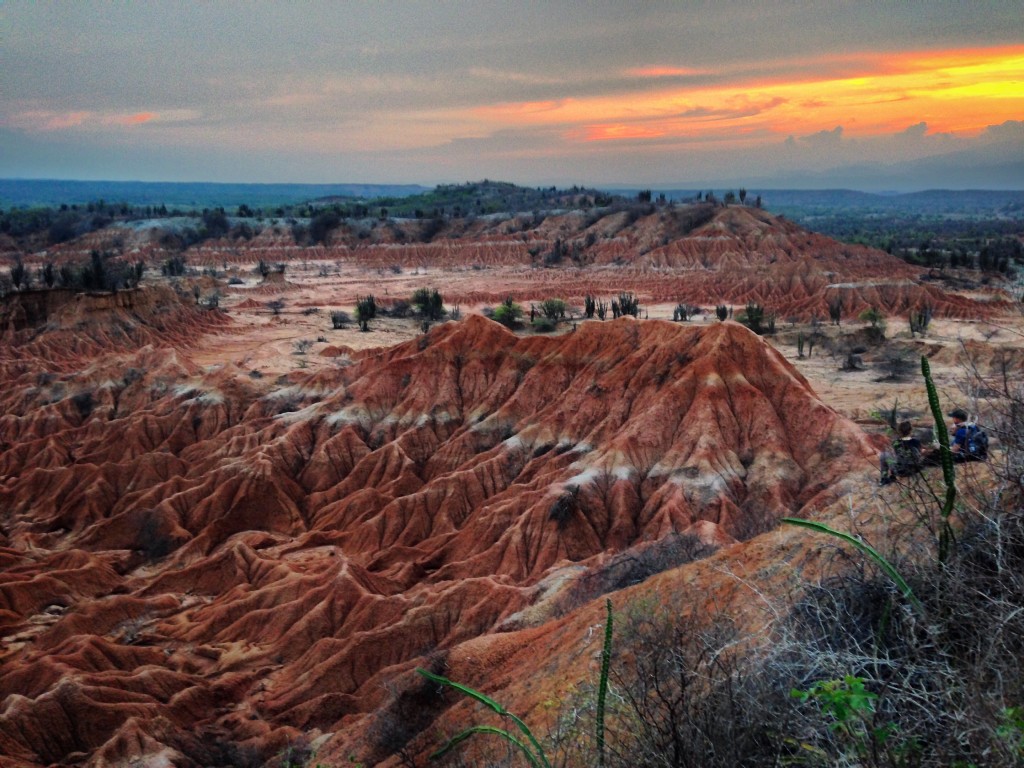
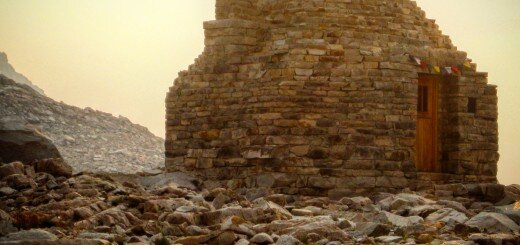
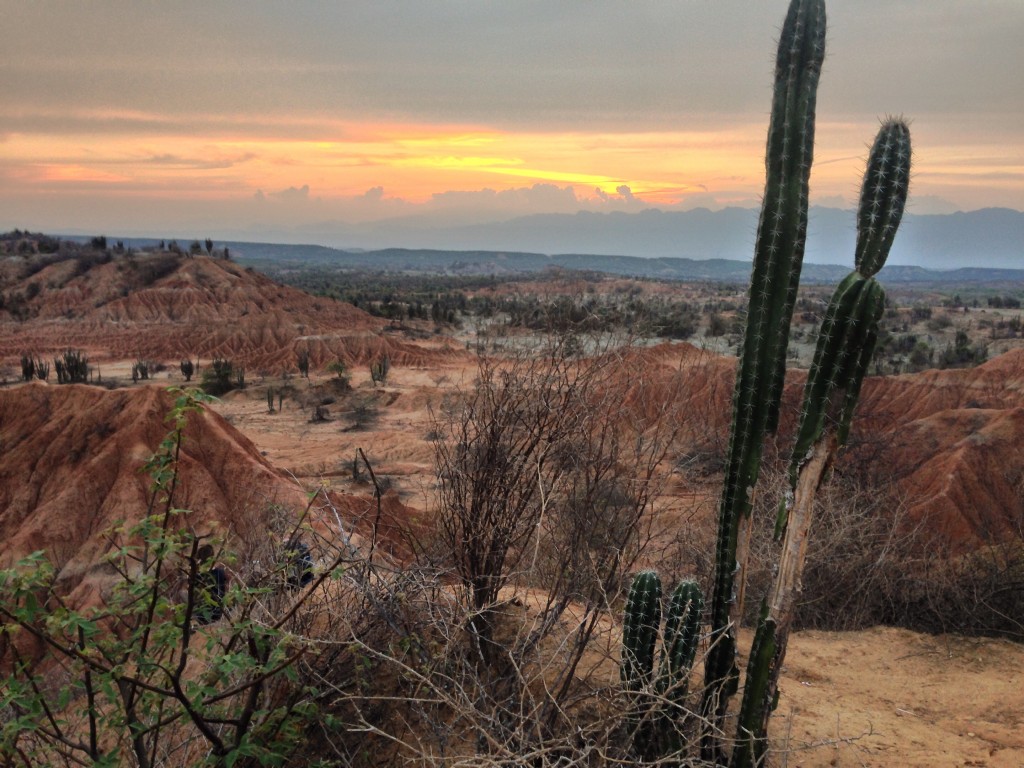
This is the part of the desert that most people come to see. We hurried to arrive just before sunset. There were high clouds on this day, so you might get even more stunning views!
This is the map indicating the bicycle route from Villavieja to the Observatory. Note that Google Maps has the observatory in the wrong location (many miles down the wrong road), so please use this map instead.
From Villavieja, it is a short bike ride into the colorful portion of the desert. It took us about 30 minutes to ride into the desert on bikes – and it was well worth it, as many people cited a very significant expense in arranging transport the short distance (4 miles each way) in and out of the desert ($20US – $40US I’ve heard). Some people recommended taking a tour because by the time you put together the transport, you’ve already paid the price of a tour.

The Hoyos Region – notice the gray rock. Photo courtesy of outofpillichsdorf
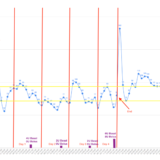
There is an observatory at the Cuzco portion of the Tatacoa desert. It is about 4 miles from the town of Villavieja on a paved road (some climbing in both directions; see Strava route). The observatory has a program that begins at 7PM. Normally, it should include looking through the telescope. It can be modified or canceled. The day we arrived, it was modified to be just a “talk” about Greek Mythology and the stars (due to high clouds). The talk was in Spanish, so we skipped it because most of our group had limited Spanish. Cost for the talk or using the telescope (if the weather allows) is 10,000 COP.
We were not too enamored with the observatory; upon arrival with our bicycles, we were asked to leave, somewhat rudely by Colombian standards. It seemed that they weren’t too fond of bicycles here. Of course, because of the clouds, we were also unable to do the observatory program. If there are clouds, they still do a talk, which also costs 10,000 COP. I did hear that if there are a lot of people, you might not get much telescope time.
This is the map for the entire route discussed in this post. To Export GPX files, click on the three horizontal bars in the upper right hand corner of the map and select Export selected map data…
To see this map in a full screen, click here (opens in new window)